
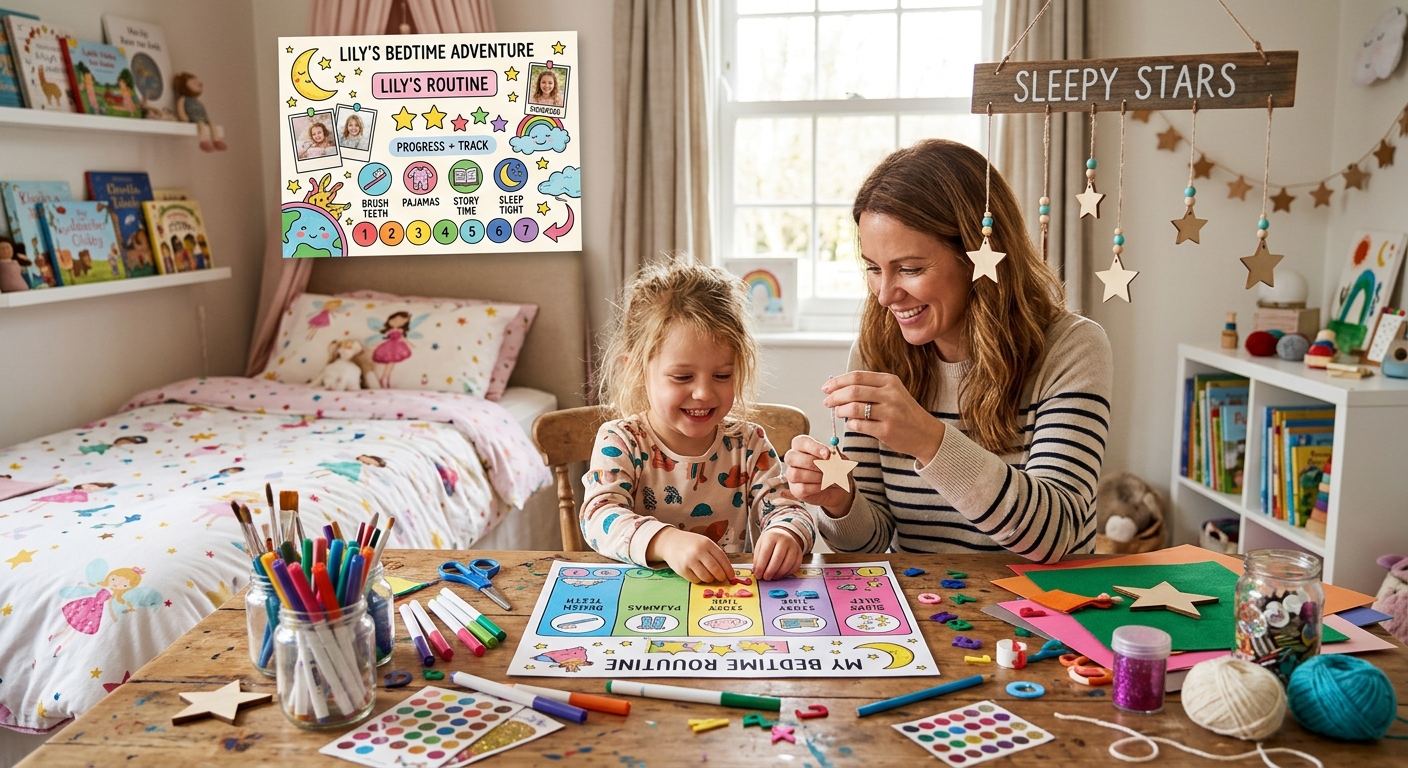
Bedtime Routine Charts and Bedroom Crafts Kids Can Help Create
The pajamas are missing, the toothbrush is waiting, and your child has suddenly remembered a very urgent drawing project. Bedtime can involve plenty of small detours. A handmade picture chart gives those evening tasks a place on the wall. Making it with your child also creates an easy starting point for bedroom decorations that feel personal, without turning your afternoon into a huge craft project.
You can build the chart across a few short sessions, then use leftover paper to make matching artwork. Keep the pictures clear, give your child a few real choices, and stop before everyone gets tired of glue. The finished pieces can be simple. Their job is to help your child recognize the routine and enjoy a room they helped decorate.
Make a bedtime chart your child can read through pictures, then repeat its colors and shapes in a few handmade bedroom decorations.
- Divide the project into brief sessions for planning, drawing, and assembly.
- Use one clear picture for each task, with a short label underneath.
- Turn paper scraps into matching wall art and a bedtime book pocket.
Start With the Bedtime You Already Have
Before bringing out the supplies, think through an ordinary evening. Which tasks happen every night? Which order works for your family? A starter chart might show pajamas, toothbrushing, story time, and getting into bed. If your child usually takes a bath earlier, you do not need to add it just to fill the paper.
Keep this first version small. Four recognizable pictures are easier to arrange and discuss than a crowded sheet filled with every detail. You can add a bathroom visit or another regular step later if the chart needs it.
Talk about the sequence during the day. Ask your child what happens before reading and what happens after. Let them help choose the pictures, while you set the routine itself. Choosing between blue and purple pajamas is a useful craft decision. Renegotiating whether toothbrushing belongs on the chart is a different conversation.
Gather Supplies That Keep the Project Manageable
You need a sheet of cardstock or clean, lightweight cardboard for the backing. Add paper, crayons or washable markers, a glue stick, child scissors, and a ruler. An adult can handle any thicker cardboard cutting. A cereal box panel works nicely if you cover its printed side with plain paper.
Choose two or three colors from supplies you already own. Dusty blue, lavender, and cream make a gentle combination. Green and pale yellow work too. Your child may prefer bright red. Use that choice for borders or small details while keeping the task pictures easy to see.
A printer is optional. You can draw most of the chart by hand and print only its final picture. If printing is unavailable, use a reference to help sketch a simple sleeping figure or bed.
Skip loose glitter and tiny decorative pieces for this project. Paper shapes and crayon marks are enough. Keep scissors, glue, and scraps under adult supervision, and clear the workspace when the session ends.
Make the Chart Across Three Short Sessions
Plan the Layout Before Adding Pictures
Give the first session about ten minutes. Place the backing vertically and mark four generous spaces from top to bottom. Leave room beneath each picture for a label. A vertical arrangement works especially nicely on a narrow patch of bedroom wall.
Cut four paper cards that fit inside those spaces. Keep them separate for now. Your child can move the blank cards around while you talk through the order. Draw a small arrow between spaces if that helps show where to look next.
Let your child decorate the outer border with dots, stripes, or a few stars. Keep the middle clear. If the border takes the whole session, stop there. Put everything in a folder and return to the pictures another day.
Draw the Tasks and Choose the Final Bedtime Image
During the next session, draw a pajama top and trousers on one card. On another, make a large toothbrush beside a simple tooth. An open book works for story time. Use thick outlines and leave space around each object. Your child can add the same stripes as their pajamas or color the toothbrush to match their own.
For the final bedtime step, browse sleep PNG imagery with your child and choose a clear sleeping figure or bed image. Print it small enough to fit the remaining card, with room for a label. Choose a picture that reads clearly at that size. A detailed scene may be harder to recognize than one simple figure.
Pair that image with the drawings for pajamas, toothbrushing, and story time by giving all four cards the same paper background. Add a matching hand-drawn border around each one. Your child could draw a lavender outline around the printed picture and repeat it around the other cards. This gives the set a shared appearance without requiring identical drawing styles.
Write brief labels underneath: “Pajamas,” “Brush Teeth,” “Story,” and “Into Bed.” The last label names an action your child can take. Avoid making falling asleep itself a task to complete or earn a reward for.
Assemble the Chart and Practice Following It
Use the third session for gluing and placement. Lay out every card before attaching anything. Invite your child to point to each picture and describe its meaning. If the book looks like a butterfly, adjust the drawing now. Familiar meaning matters more than tidy artwork.
Glue the cards firmly to the backing and let them dry flat. For a sturdier surface, an adult can cover the finished chart with clear adhesive film. Ordinary cardstock is also fine, especially while you are still deciding whether the layout works.
Mount the chart where your child can see it comfortably. Follow the mounting product’s instructions and check the surface first. Keep it away from heat sources and places where it could fall into a sleeping space.
Practice once during the day. Point to pajamas, pretend to brush, open a book, and point to bed. Keep the rehearsal playful and brief. At bedtime, the pictures will already have a familiar meaning.
Choose a Way to Follow Progress Without Extra Fuss
The chart does not need moving parts to be useful. A finger pointing to the next picture may be enough. If your child enjoys marking progress, choose a method that suits their age and the amount of upkeep you want.
Ways to Track Each Bedtime Step
| Method | What Your Child Does | What to Consider |
|---|---|---|
| Pointing | Points to the current or next picture. | Requires no extra supplies or daily reset. |
| Erasable Checks | Checks a covered space beside each completed task. | Needs a compatible wipe-clean surface and an adult-managed marker. |
| Paper Flaps | Lifts an attached flap to reveal a checkmark. | Adds hands-on interest but needs resetting and occasional repair. |
Try pointing first if you are unsure. You can add another method later. Keep the focus on what happens next, rather than turning every evening into a scorekeeping exercise.
Turn Leftover Paper Into Matching Bedroom Decorations
Make a Moon and Star Wall Picture
Use the same backing color as the chart for a small wall picture. An adult can draw a crescent moon and broad stars on scrap paper. Your child can cut manageable shapes, tear paper into pieces, or color inside the outlines.
Arrange the shapes before gluing. Repeat the chart’s border pattern around the edge. A child who made lavender dots on the chart can make lavender dots here too. That repeated detail connects the projects without requiring a perfectly coordinated bedroom.
Glue every piece onto one flat backing. Display it securely on an appropriate wall, away from the bed or crib. Flat artwork keeps this craft straightforward and avoids the cords needed for hanging garlands.
Create a Pocket for Tonight’s Book
A paper book pocket makes a useful partner for the story-time card. Start with a large sheet of sturdy paper. Fold the bottom upward to form a shallow pocket, then have an adult secure both side edges with tape. Leave the top open.
Your child can decorate the front with the same open-book drawing used on the chart. Add their name or “Tonight’s Book” in clear letters. Place the pocket on a low shelf, supported against its back, and tuck in one lightweight paperback.
For a heavy board book, decorate an existing small book bin instead. The paper pocket should not carry more weight than it can support. Let your child choose the evening’s book earlier in the day and put it in its waiting place.
Frame a Small Drawing of Their Bed
Ask your child to draw their bed on a small piece of paper. Include a familiar blanket or pillow. Make a paper frame using strips left from the chart backing, then glue them around the drawing.
This craft can take five minutes and still feel complete. You do not need to finish every decoration. One chart and one small drawing may be exactly enough for your available afternoon.
Keep Craft Time Separate From Bedtime Pressure
Make these projects after lunch, during a weekend pause, or whenever your child has some energy for creating. Save bedtime for using the finished chart. Wet glue and unfinished artwork can become another reason to delay getting ready.
Offer a clear stopping point before you begin: “Today we are drawing the pajama card.” If your child wants to continue, you can decide whether time allows. If interest fades, store the materials and leave the next step for another session.
Younger children can choose colors, scribble on a border, and tell you what each picture means. Older children may enjoy measuring cards or writing labels. Give each child a part they can manage without making the project depend on perfect cutting or handwriting.
Adjust the Chart After a Few Evenings
Watch how your child uses the pictures. If they keep asking what a symbol means, redraw it more clearly. If the chart includes a task that rarely happens at that point, move or remove it. Handmade cards are easy to replace.
Use a gentle prompt: “Which picture comes next?” Some nights you will still need to help with pajamas, supervise brushing, or sit nearby during the transition to bed. The chart gives you something concrete to point to. It does not guarantee a smooth evening.
If your child ignores it, bring the chart closer to where the routine starts or reduce visual clutter around it. You can also ask whether they would prefer photographs of their own items. Keep the decorations separate from the task spaces, so the chart remains easy to read.
A Familiar Path From Pajamas to Pillow
A slightly crooked star or a pajama drawing with enormous sleeves can be the best part of this project. Your child will recognize their own work each evening. You will have a simple sequence to return to when everyone is tired.
Start with the four picture cards. Add a matching decoration when another small pocket of time appears. Let the bedroom grow around those shared moments, one paper moon, book drawing, and bedtime card at a time.
