Step into a world where your home reflects your style without draining your energy or your wallet. At NaptimeCrafters, we believe great decor doesn’t have to be expensive or complicated. With a handful of simple supplies, a dash of creativity, and a few kid friendly tasks you and your family can tackle together, you can transform your spaces into cozy, Instagram worthy rooms. This guide is packed with practical projects, friendly how tos, and budget minded ideas you can start today. Let’s dive into DIY home decor that fits a busy creator’s life.
Why DIY Home Decor Makes Busy Lives Easier
Balancing work, family, and personal time means your projects need to be doable in short bursts. DIY home decor fits right into that rhythm. Quick wins, upcycled finds, and modular projects let you see changes fast, which keeps you motivated. Plus, making your own decor lets you customize colors, textures, and scale to suit your space perfectly.
- Save money by repurposing thrift store finds or garage sale treasures.
- Personalize color palettes to match your current furniture and textiles.
- Create multipurpose pieces that serve function and beauty.
To start, keep a small kit ready with the basics. A simple toolkit, a bag of acrylic paints, painter’s tape, a few brushes, glue, and sandpaper can cover 90 percent of the projects you will want to tackle. When you plan ahead, you can complete projects during nap times or after bedtime and still have a home that feels like you.
Simple planning makes complex projects doable
Start with a plan
A clear plan makes even big projects feel manageable. Consider these steps:
– Choose a room or zone to refresh
– Pick a unifying color palette (2 main colors plus a neutral)
– List 3 to 5 projects that will have the biggest impact
– Set a realistic timeline and budget
– Gather a sample board with fabric swatches, paint chips, and photos
Gather your tools and materials
Stock a small starter kit so you can jump in when inspiration strikes:
– Paints in your chosen colors (matte or satin finishes work well for walls and furniture)
– Brushes and rollers in different sizes
– Sandpaper (120 to 220 grit)
– Painter’s tape and drop cloths
– Glue guns and wood glue
– Measuring tape and a level
– Mini saw or craft knife for quick cuts
– Mod Podge or sealant for protecting surfaces
– A staple gun or nails for lightweight projects
Set a realistic budget
A little planning goes a long way. Budget tip:
– Allocate 40 percent to paint and basic supplies
– Allocate 30 percent to hardware and functional pieces
– Allocate 20 percent to decor accents like pillows or wall art
– Keep a 10 percent contingency for little add ons or unexpected finds
Quick wins: 10 projects you can finish this weekend
Here are ten beginner friendly ideas that deliver big impact with minimal time. Each project includes a quick start guide so you can dive right in.
- Painted mason jar vases
- Clean and dry jars
- Paint with one bold color or a soft ombre
- Tie a ribbon around the neck or add a small tag
-
Fill with fresh or faux stems
-
Pallet wood wall art
- Sand and prime a small pallet board
- Sketch a simple motif or quote and paint
- Seal with a clear protective finish
-
Mount with picture hooks or a few nails
-
Cotton fringe throw pillow
- Sew or glue on a cotton fringe trim to an existing pillow cover
- Use bold contrasting thread to add a stitched border
-
Finish with a quick steam to remove wrinkles
-
Peel and stick wallpaper accent wall
- Choose a focal wall and measure accurately
- Cut wallpaper with extra margin for trimming
-
Smooth from the center outward to avoid bubbles
-
Upcycled tin planter
- Clean and prime a metal tin
- Paint with metallic or matte color
- Add drainage holes and a saucer
-
Plant your favorite succulent or herb
-
Painted thrift store picture frames gallery
- Buy a set of mismatched frames
- Paint in a cohesive color family
-
Create a mini gallery with a layout on the floor first, then hang
-
Chalkboard menu board
- Use a wood board or thick cardboard
- Paint with chalkboard paint
-
Add a small easel stand or mounting hooks
-
Rope plant hanger
- Cut three lengths of rope
- Tie a simple wrap knot and bundle around a ring
-
Add a pot for a casual boho touch
-
Fabric bunting banner
- Cut triangles from scrap fabric
- Sew or glue to a length of ribbon
-
Hang above a doorway or along a mantel
-
DIY macrame plant hanger (simple knot version)
- Learn a few basic knots
- String cords through a wooden ring
- Tie to form a cradle for a small pot
If you want more ideas, you can mix and match these projects to suit your space and level of time commitment. The goal is to keep it fun and friendly while delivering a fresh feel to your home.
Wall decor ideas that transform a room
Walls set the mood, and there are many kid friendly yet stylish ways to refresh them.
DIY gallery wall on a budget
- Gather frames in a cohesive color family
- Create a layout on the floor before hanging to achieve balance
- Mix art prints, photos, and a few 3D pieces like pressed leaves or small decorative shelves
- Use picture ledges for a modular display you can rearrange
Mirror DIY projects brighten small rooms
- Spray paint a thrift store mirror frame in a metallic or pastel hue
- Add a few decorative touches like ribbon or trim to the edges
- Hang opposite a window to reflect light and create the illusion of more space
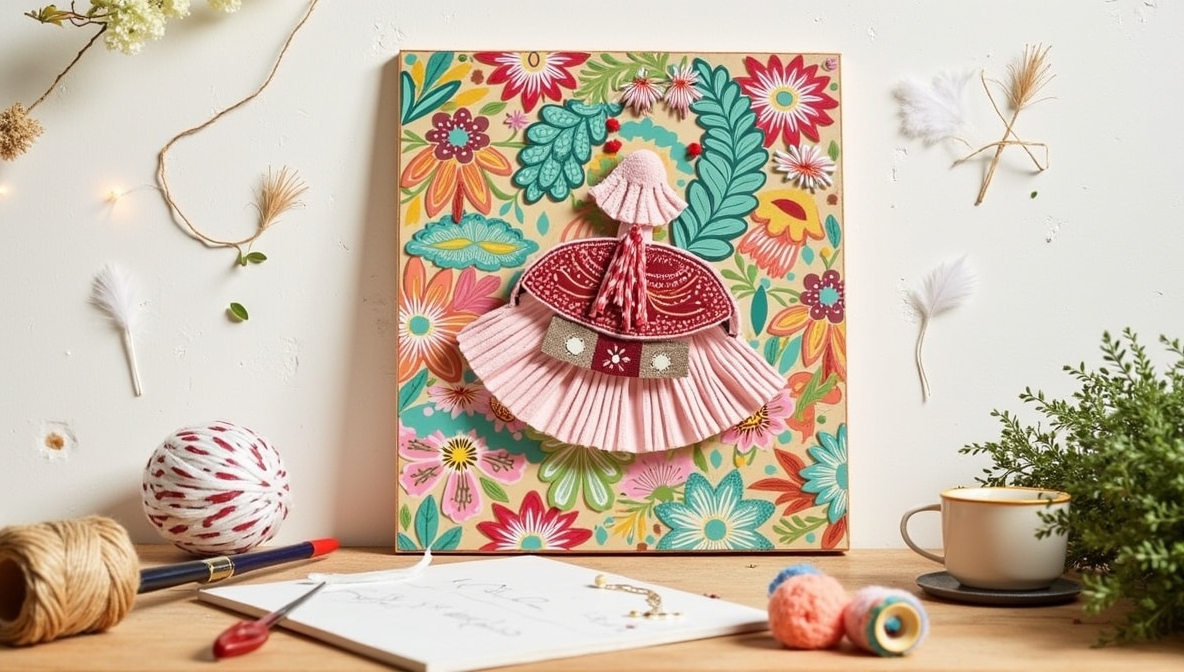
Texture art and simple art canvases
- Use painter’s tape to create geometric shapes on a canvas
- Paint sections in different textures such as matte and gloss
- Apply textured materials like twine, fabric scraps, or burlap with Mod Podge for tactile interest
Floating shelves as wall art and storage
- Install a pair of lightweight floating shelves
- Decorate them with plants, books, and small keepsakes
- Paint the shelf brackets in a contrasting color for a bold look
Refresh with paint and shelving
Paint is one of the most transformative tools in a DIYer’s toolkit.
Paint a shelf or console
- Sand lightly for adhesion
- Apply a primer if the surface is stained or glossy
- Finish with two coats of your chosen color
- Add new hardware like knobs or pulls for a quick update
Build your own shelves from fruit crates
- Sand each crate to remove rough edges
- Stack or mount crates in a zigzag or grid pattern
- Secure with wood screws and wood glue
- Paint or stain to match your room
Wall panels for a high end look
- Use thrifted wood planks or inexpensive MDF panels
- Cut to fit your wall space and attach with nails or adhesive
- Stain or paint, then seal to protect the finish
Upcycling projects that feel new
Upcycling is a win win. You reduce waste and create unique pieces that tell your story.
Upcycled furniture refresh
- Sand and clean the surface
- Apply a fresh coat of paint in a bold or soft color
- Add new hardware or trim to update the piece
- Consider distressing for a vintage vibe
Transforming old crates into a coffee table
- Stack crates and secure with wood glue and screws
- Sand edges and apply a protective finish
- Add casters for mobility or a glass top for a sleek surface
Fabric and textile revamps
- Recover an old chair with new upholstery
- Use removable cushions for easy care
- Layer a mix of textures such as linen and cotton for a cozy look
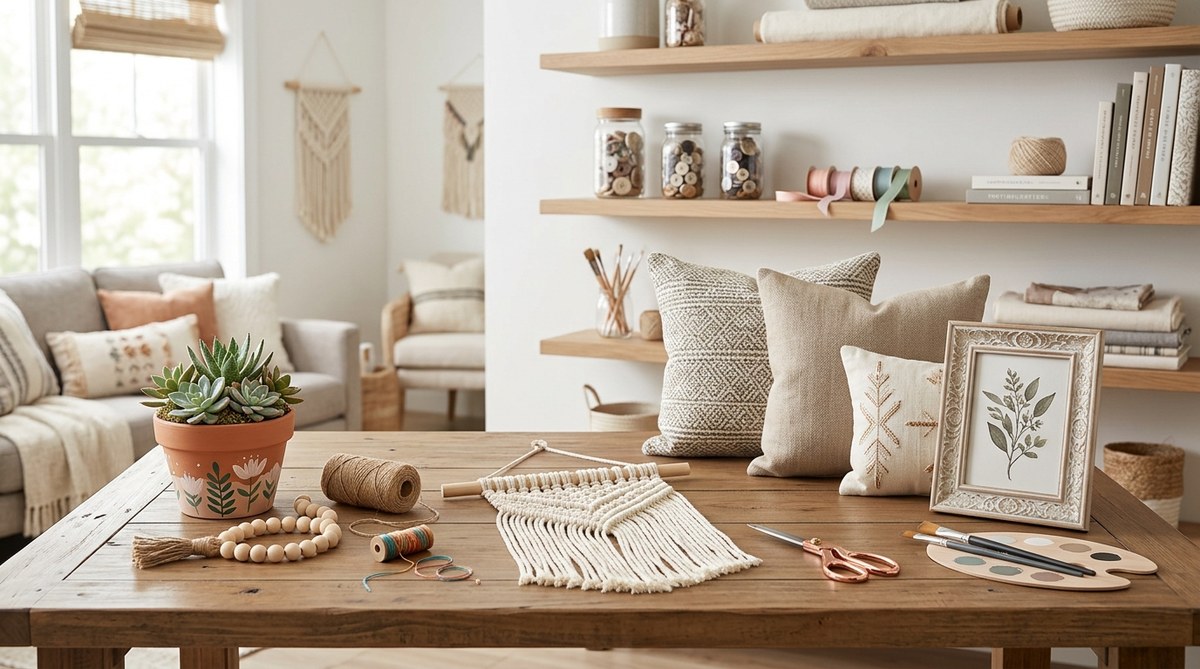
Boho inspired decor
Boho style blends natural textures with relaxed patterns and greenery.
Macrame plant hangers
- Learn basic knots like square knots and lark’s head
- Use cotton cords of varying thicknesses
- Finish with a wooden dowel or metal ring
Woven wall hangings and tapestry ideas
- Create a simple loom using a picture frame and some yarn
- Weave with natural fibers for a soft, earthy look
- Attach to a dowel and hang using a leather cord
Natural elements on display
- Arrange baskets, woven trays, and potted plants at different heights
- Use a mix of textures like jute, rattan, and cotton
Kid friendly decor projects you can do together
Getting kids involved makes projects more fun and teaches lasting skills.
- Painted planters for herbs or flowers
- Fabric bunting to celebrate a birthday or season
- DIY chalkboard wall or small chalkboard signs
- Paper lanterns made from colored paper and string
- Simple canvas art with stencils or stamps
- Decor banners for holidays or events
Tips for success with kids:
– Keep projects short and snack friendly
– Use washable paints and non toxic materials
– Create a dedicated “craft caddy” to avoid messes spreading
– Celebrate every step with a photo for a keepsake
Seasonal and time sensitive ideas
Seasonal touches keep your decor feeling fresh without a full room makeover.
- Seasonal wreaths made from faux greens and seeds
- Quick table runners using fabric scraps
- Holiday banners with simple punched shapes
- Centerpiece ideas with natural materials like pine cones and citrus peels
Tools and materials list for quick reference
- Paints and brushes in your chosen color family
- Painter’s tape, drop cloths, sandpaper
- Glue guns, wood glue, hot glue sticks
- Measuring tape, level, ruler
- Scissors, craft knives, and a cutting mat
- Mod Podge or sealants for durability
- Picture frames, canvases, and a few canvases of different sizes
- Ropes, tassels, fabric scraps for texture and boho looks
- Lightweight wood pieces or pallets for wall art and shelves
- Small hardware like screws, nails, and brackets
- Mirrors and vintage frames to repurpose
Step by step mini tutorials you can start today
How to refresh a plain shelf in 15 minutes
- Clean and sand lightly
- Prime if needed
- Paint with your chosen color
- Add decorative knobs or trim
How to create a simple gallery wall
- Pick a color family for frames
- Print or gather varied art and photos
- Lay out on the floor to plan arrangement
- Hang starting from the center outward to balance
How to make a macrame plant hanger
- Cut three or four lengths of cord
- Attach to a ring
- Knot a few basic patterns to form a cradle
- Tie off and trim ends
- Slide pot into cradle and hang
Maintenance and finishing touches
A well finished project lasts longer and looks better.
- Seal wood surfaces with a clear matte or satin finish
- Clean walls with a soft cloth and mild cleaning solution
- Rotate decor items every few months to keep spaces fresh
- Refinish or repaint when a piece shows wear
- Store leftover supplies in labeled containers for easy access
SEO friendly tips to maximize your DIY home decor reach
- Use keyword phrases naturally in your copy: DIY home decor ideas, budget friendly decor, kid friendly crafts, upcycling furniture, wall decor ideas
- Include practical, scannable lists with steps and tips
- Use descriptive alt text for any images such as “macrame plant hanger tutorial” or “gallery wall layout”
- Link to related content on NaptimeCrafters to keep readers engaged
Why NaptimeCrafters is your go to source for DIY home decor
NaptimeCrafters focuses on crafts that fit busy creators and families. We share kid friendly projects, easy to follow tutorials, and affordable decor ideas that help you create a home you love without overwhelming your schedule. Each project is designed to be approachable and achievable, with steps you can complete in a weekend or even during nap times.
- Clear, friendly guidance with tips to avoid common mistakes
- Projects that emphasize repurposing and sustainable choices
- A focus on practical, stylish results that fit real homes
Final thoughts: make your space yours
Decor is a personal expression of how you live. With a handful of simple, budget friendly DIY projects, you can craft spaces that feel welcoming and uniquely yours. The best part about DIY is the sense of accomplishment that comes with finishing a project and seeing your space transform before your eyes.
If you enjoyed these ideas, consider subscribing to NaptimeCrafters for weekly inspiration and tutorials that fit into busy schedules. Share your own projects in the comments or tag us on social media with your before and after photos. We love seeing how you bring these ideas to life in your homes.
Remember, you do not need a special occasion to refresh a room. A small wall gallery, a bright new shelf, or a touch of texture can lift a space in meaningful ways. Start with one project this weekend and let the rest follow. Happy crafting from the NaptimeCrafters team.