Scrapbooking is a creative way to preserve memories, turning photographs and keepsakes into personalized works of art. It transforms moments into lasting keepsakes, allowing you to tell stories through design, color, and embellishments. The beauty of scrapbooking lies in its flexibility—there’s no right or wrong approach. Whether crafting a heartfelt gift or building a personal collection, the process is as rewarding as the final product.
Getting Started with Scrapbooking
Starting fresh can feel overwhelming, but breaking it down into steps makes the process enjoyable. Here’s what you need to begin:
1. Choose a Scrapbook Format
Before gathering supplies, decide on the type of scrapbook you want to create. Options include:
- Traditional Scrapbooks – Paper-based albums with decorated pages.
- Digital Scrapbooks – Created using software and printed later.
- Junk Journals – A mix of scrapbooking and journaling, using various paper elements.
- Mini Albums – Compact and great for specific events or themes.
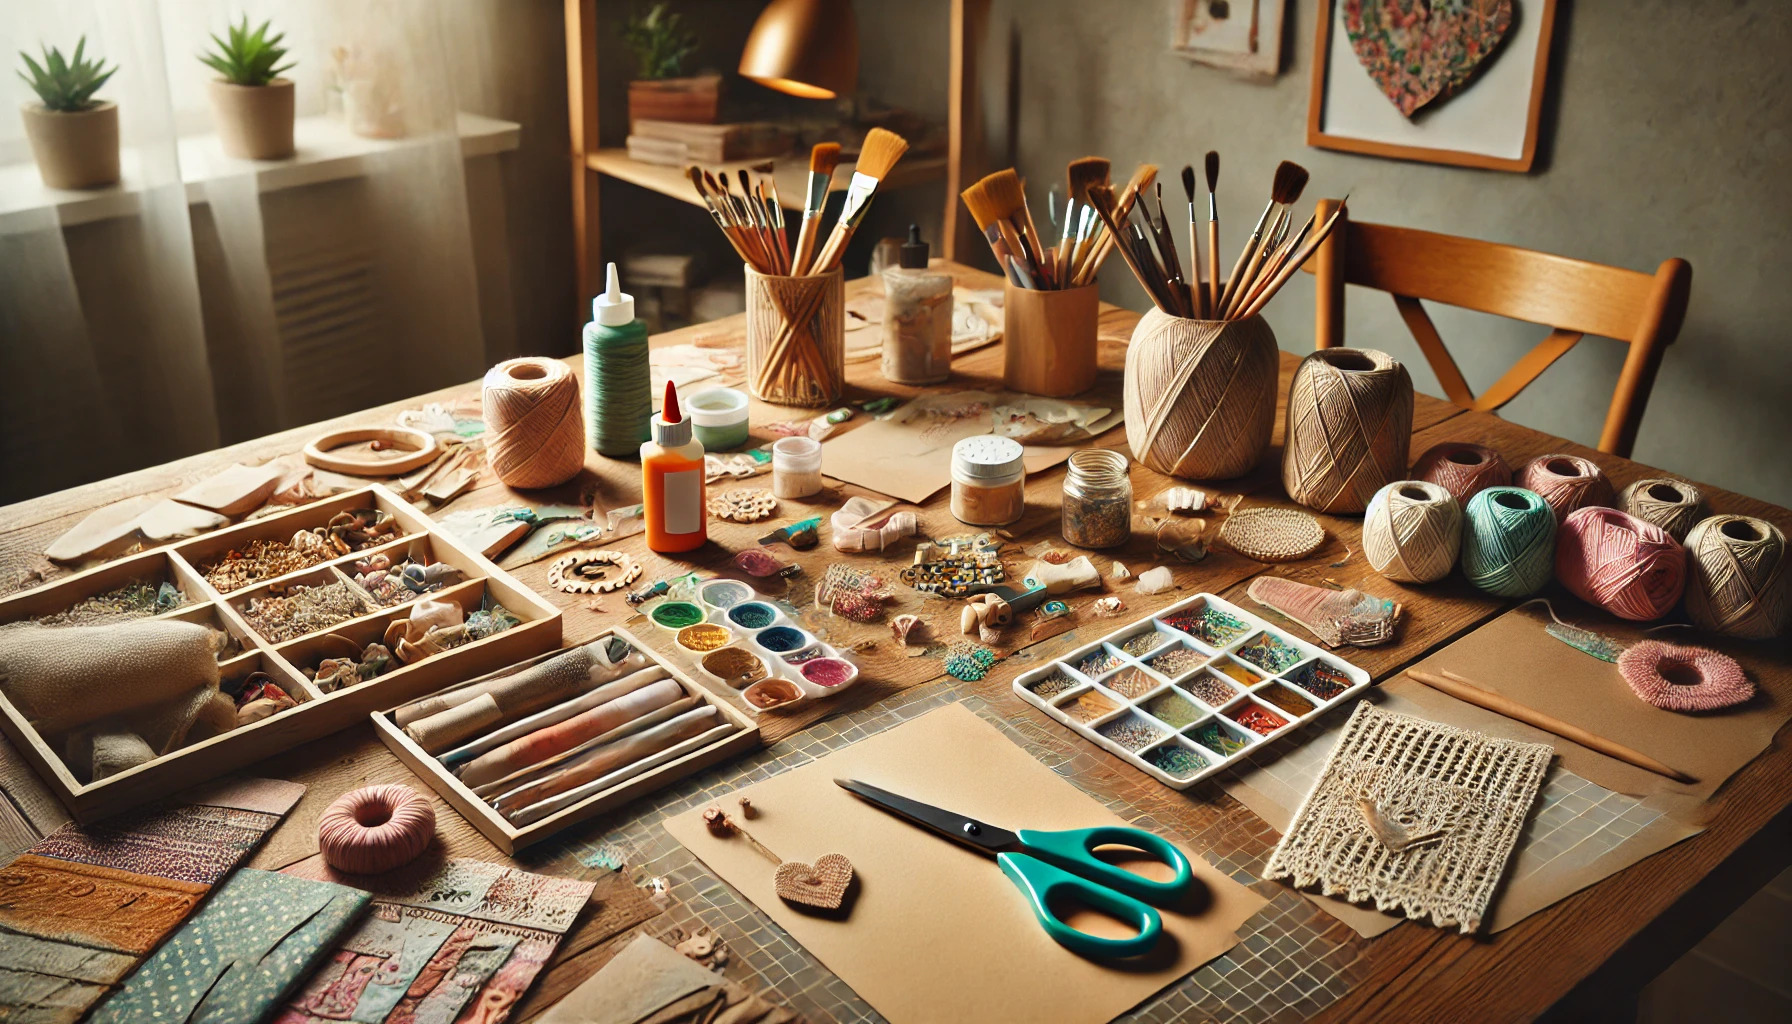
2. Gather Essential Supplies
To start, focus on the basics:
- Scrapbook Album – Available in different sizes, from 6×6 inches to 12×12 inches.
- Acid-Free Paper – Prevents photos from yellowing over time.
- Adhesives – Glue sticks, double-sided tape, or adhesive rollers.
- Scissors & Paper Trimmer – For clean cuts and precise edges.
- Embellishments – Stickers, die cuts, washi tape, and ephemera.
- Pens & Markers – Archival-quality ink for journaling.
- Photos – Printed in high resolution for lasting quality.
3. Pick a Theme
A scrapbook gains coherence through a well-chosen theme. Common themes include:
- Family memories
- Travel adventures
- Baby milestones
- Wedding albums
- Holiday traditions
Choosing a theme helps organize thoughts and select cohesive design elements.
Designing Your Pages
A well-balanced scrapbook layout makes pages visually appealing without feeling cluttered. Consider these steps:
1. Plan Your Layout
Before gluing anything down, arrange photos and decorations to visualize the final look. Balance is key—leave white space to avoid overcrowding.
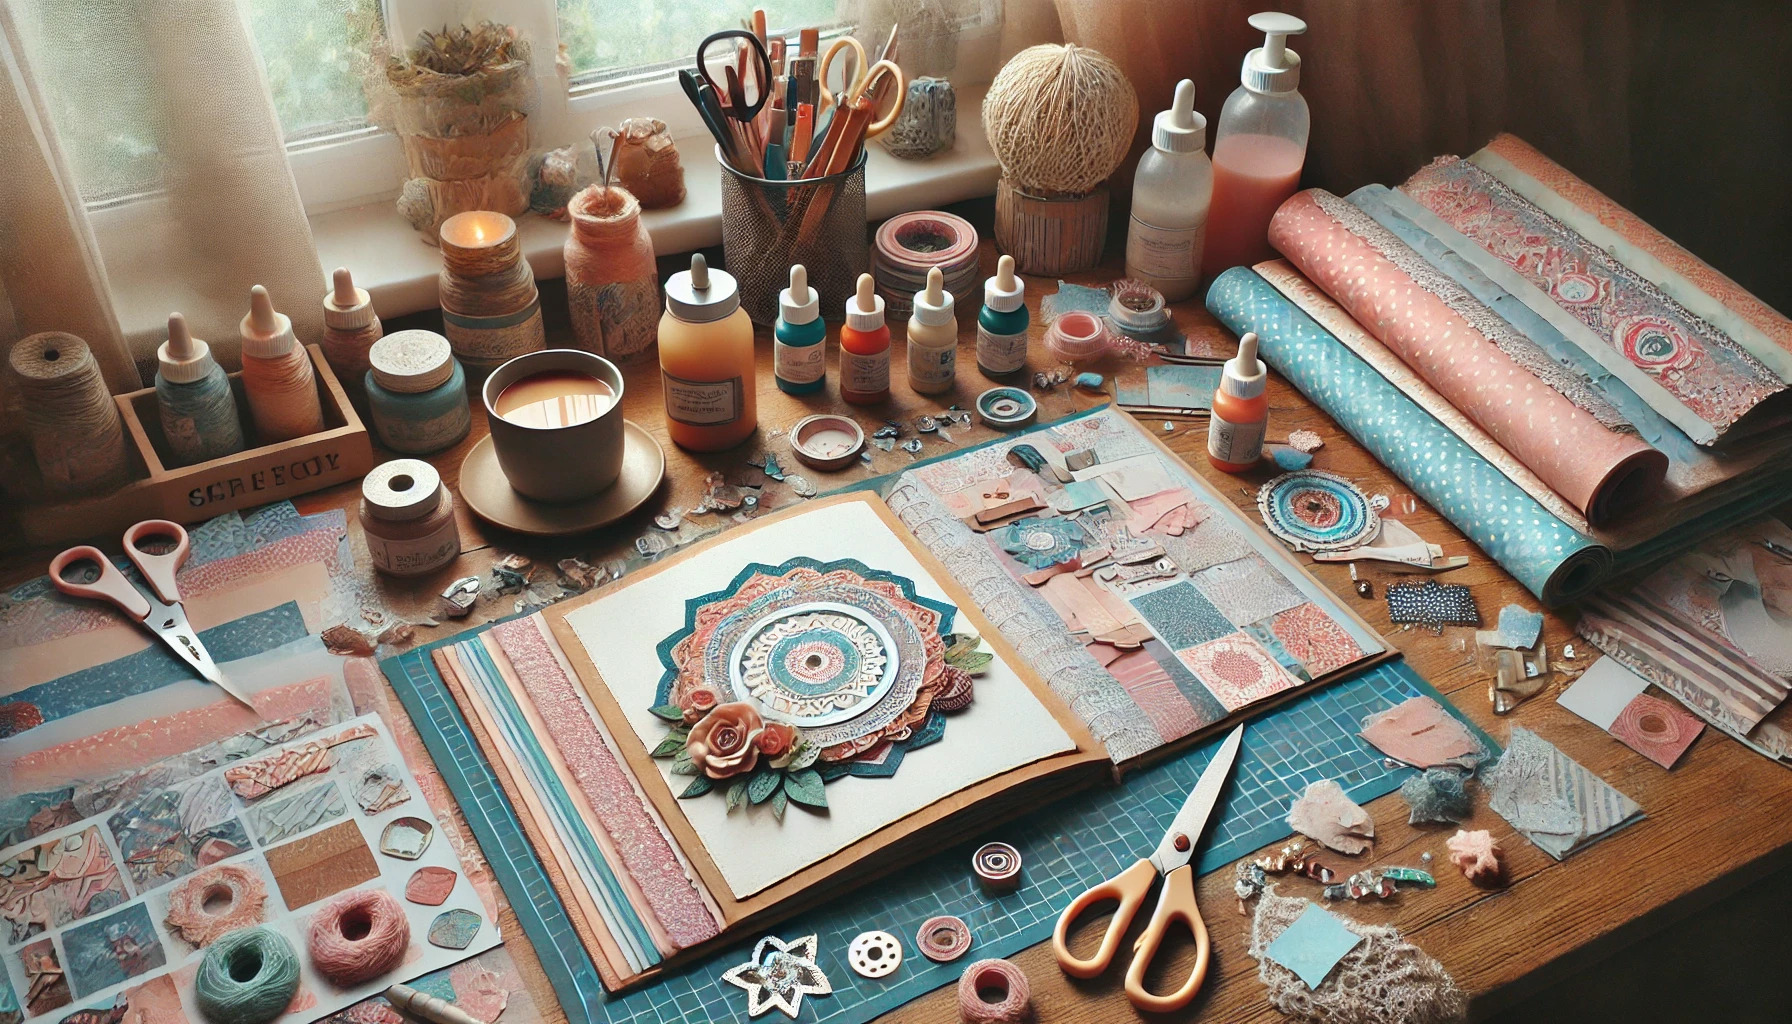
2. Layering for Depth
Layering adds dimension. Use:
- Patterned paper behind photos.
- Washi tape for borders.
- Small embellishments to highlight key elements.
3. Add Journaling
Scrapbooks tell stories. Include handwritten notes, captions, or quotes to personalize each page. Try different journaling styles:
- Bullet Points – Quick, concise storytelling.
- Paragraph Form – A more detailed approach.
- Speech Bubbles – Great for interactive designs.
4. Incorporate Textures & Patterns
Texture makes pages dynamic. Try:
- Lace, fabric, or burlap for a tactile element.
- Raised stickers or foam dots for dimension.
- Coloring page designs as background patterns or embellishments to add intricate details.
Making It Personal
A scrapbook holds more value when it reflects your personality. Add personal elements such as:
- Handwritten Notes – Letters, messages, or anecdotes.
- Memorabilia – Concert tickets, dried flowers, postcards.
- Stamped Impressions – Custom stamps create unique designs.
- Hand-Drawn Elements – Doodles or sketches add a personal flair.
Scrapbooking Tips for Beginners
- Start Simple – Avoid overcomplicating your first project.
- Organize Supplies – A clutter-free workspace boosts creativity.
- Mix & Match – Combine different textures and styles.
- Practice Cutting Techniques – Clean edges enhance the overall look.
- Don’t Rush – Scrapbooking is about the process, not just the outcome.
A well-crafted scrapbook is more than a collection of photos—it’s a snapshot of cherished moments brought to life through creativity. Whether working on a single page or an entire album, each addition tells a story worth remembering.