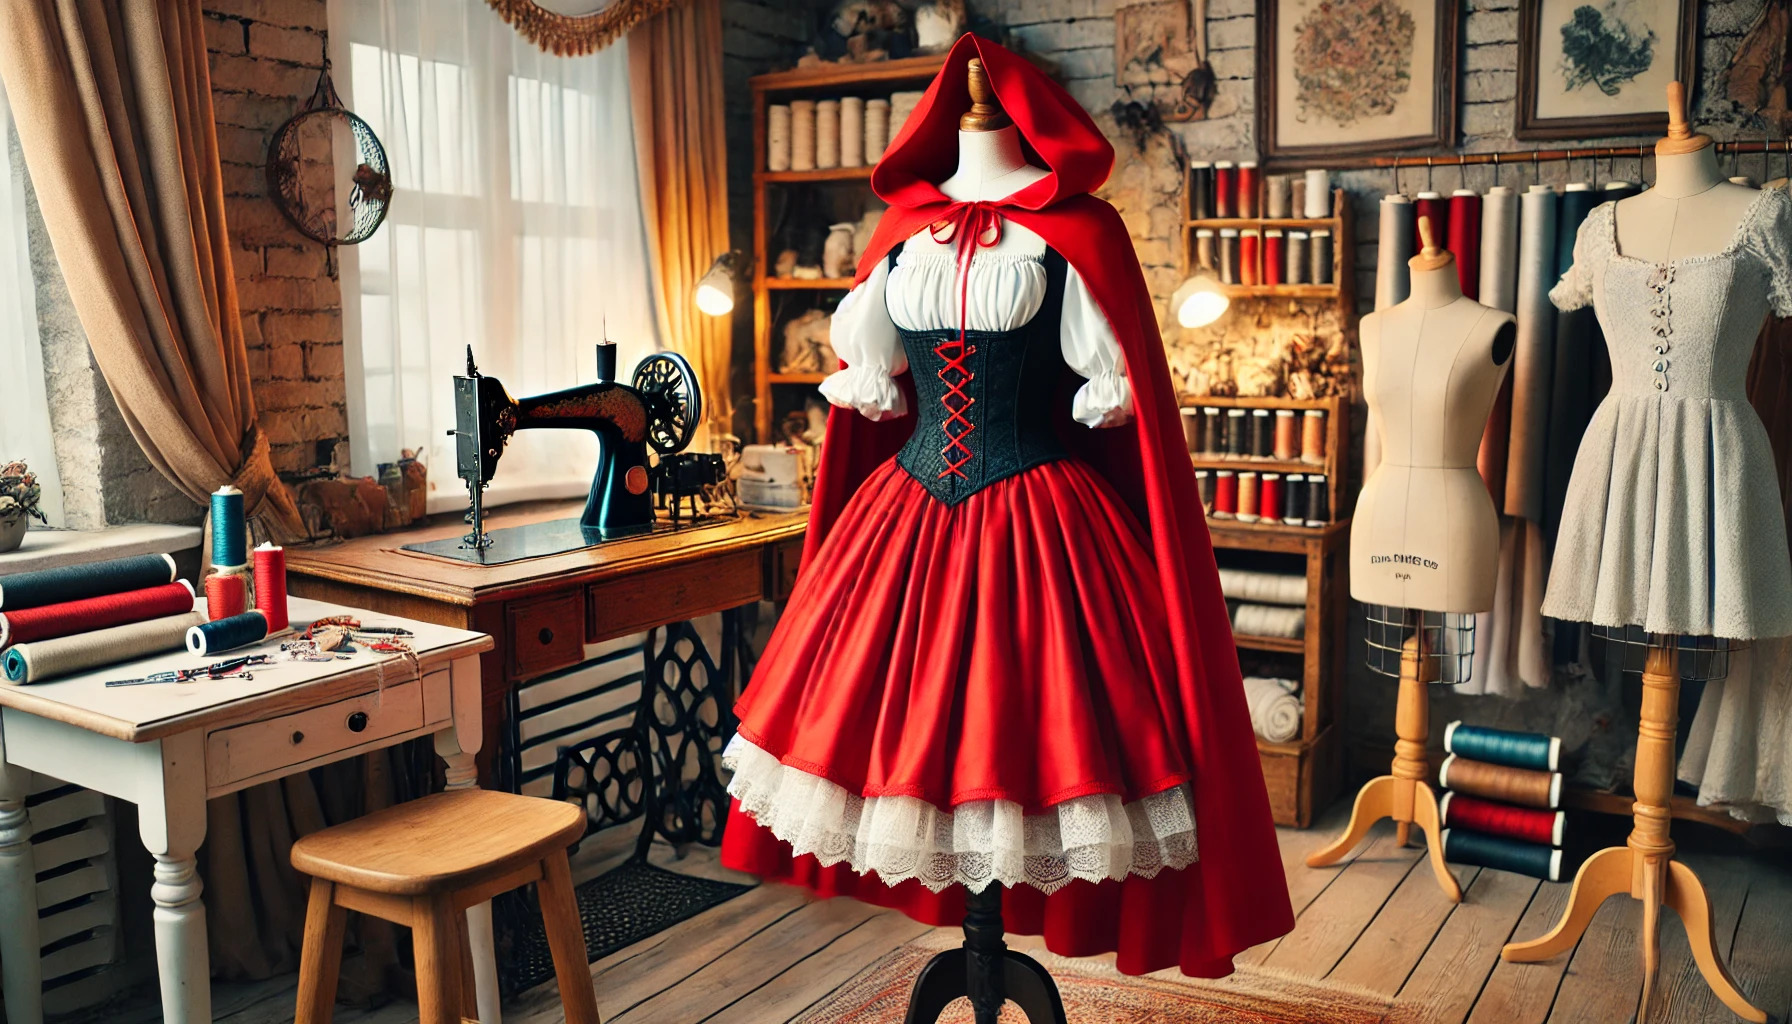
Creating a Red Riding Hood dress is a rewarding project that blends classic fairytale charm with practical sewing techniques. Whether it’s for a costume party, a school play, or Halloween, this dress brings a timeless character to life. This tutorial provides clear steps to make a beautiful and functional Red Riding Hood dress, complete with a flowing cape.
Materials Needed
Gathering the right materials ensures a smooth process:
- Fabric: Red cotton or velvet for the cape, white cotton for the blouse, and a darker fabric like black or deep red for the bodice and skirt.
- Lace trim: Adds detail to the blouse and apron.
- Elastic: Used for the blouse sleeves and neckline.
- Ribbon: Satin ribbon for corset-style lacing.
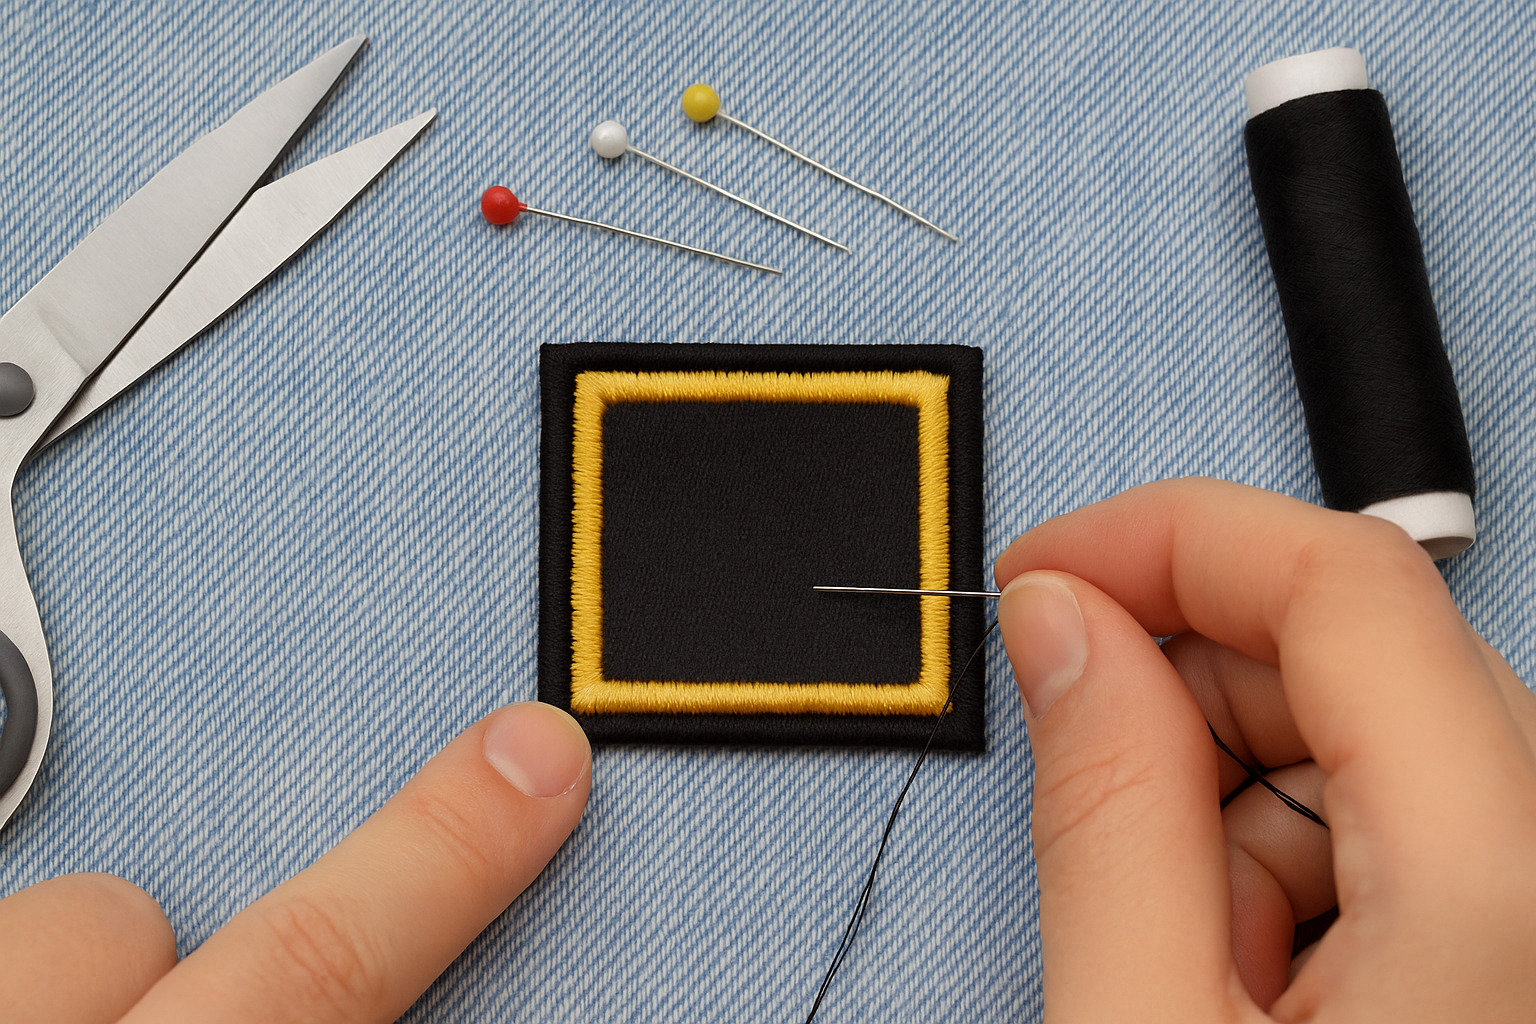
- Sewing machine & thread: Matching colors for seamless stitching.
- Scissors, pins, and measuring tape: Essential tools for precise cutting and assembling.
- Pattern paper or pre-made dress pattern: Helps in cutting fabric accurately.
Step 1: Creating the Bodice
- Measure and Cut:
- Measure the chest, waist, and length from shoulder to waist.
- Cut two front and two back pieces from your bodice fabric.
- Sew the Shoulder Seams:
- Pin the shoulder seams right sides together and stitch.
- Press the seams open for a clean finish.
- Add the Corset Detail:
- Cut small strips of ribbon and attach them to the front bodice in a crisscross pattern.
- Secure the ends by stitching them to the fabric.
- Attach Side Seams:
- Pin and sew the bodice’s sides, ensuring a snug but comfortable fit.
Step 2: Sewing the Blouse
- Cut the Fabric:
- Use a lightweight white cotton fabric.
- Cut a front and back piece, slightly larger than the bodice for a gathered effect.
- Create the Sleeves:
- Cut two sleeve pieces with extra width for puffiness.
- Sew the underarm seams and attach them to the blouse.
- Insert elastic into the sleeve cuffs for a gathered look.
- Assemble the Blouse:
- Sew the shoulder and side seams.
- Create a casing around the neckline and insert elastic to create a ruffled effect.
- Hem the Edges:
- Fold the raw edges under and sew a clean hem around the neckline and sleeves.
Step 3: Making the Skirt
- Measure and Cut:
- Measure from waist to desired length.
- Cut a rectangular piece of fabric with extra width for gathers.
- Create the Waistband:
- Sew a casing for elastic or create pleats for a fitted look.
- Attach the waistband to the bodice, ensuring even gathers.
- Hem the Skirt:
- Fold and sew the hem to prevent fraying and add a polished finish.
Step 4: Crafting the Red Cape
- Cut the Cape Fabric:
- Measure from the neck to mid-calf or desired length.
- Cut a large semi-circle for a full, flowing effect.
- Sew the Hood:
- Cut two hood pieces and sew them together along the curved edge.
- Attach the hood to the straight edge of the cape.
- Finish the Edges:
- Hem the cape’s edges or use bias tape for a clean look.
- Add a ribbon or button closure at the neckline.
Step 5: Adding Final Touches
- Apron Detail:
- Cut a rectangle of white fabric.
- Hem the edges and attach a waistband.
- Tie the apron around the waist for a layered effect.
- Lace Trim:
- Add lace to the apron, blouse cuffs, or bodice for extra detail.
- Finishing Press:
- Iron all seams and hems for a professional finish.
Styling Tips
- Pair the dress with white knee-high socks or tights.
- Wear black Mary Jane shoes or lace-up boots for an authentic look.
- Carry a small woven basket to complete the classic fairytale aesthetic.
This step-by-step approach ensures a well-constructed Red Riding Hood dress that’s both beautiful and practical. With careful attention to detail, the result is a costume that brings the fairytale to life in a striking way.