Sewing straight lines is the foundation of nearly every sewing project. Whether stitching hems, seams, or decorative topstitching, straight lines provide structure and a clean finish. If your stitches look wobbly or uneven, don’t worry—straight lines come with practice, the right techniques, and a bit of patience.
Why Straight Lines Matter
Straight stitches are more than just aesthetics. They ensure fabric pieces align correctly, provide strength to seams, and create professional-looking results. Crooked lines can cause puckering, uneven tension, and even weaken the structural integrity of the item you’re making.
What You’ll Need
Before starting, gather these basic supplies:
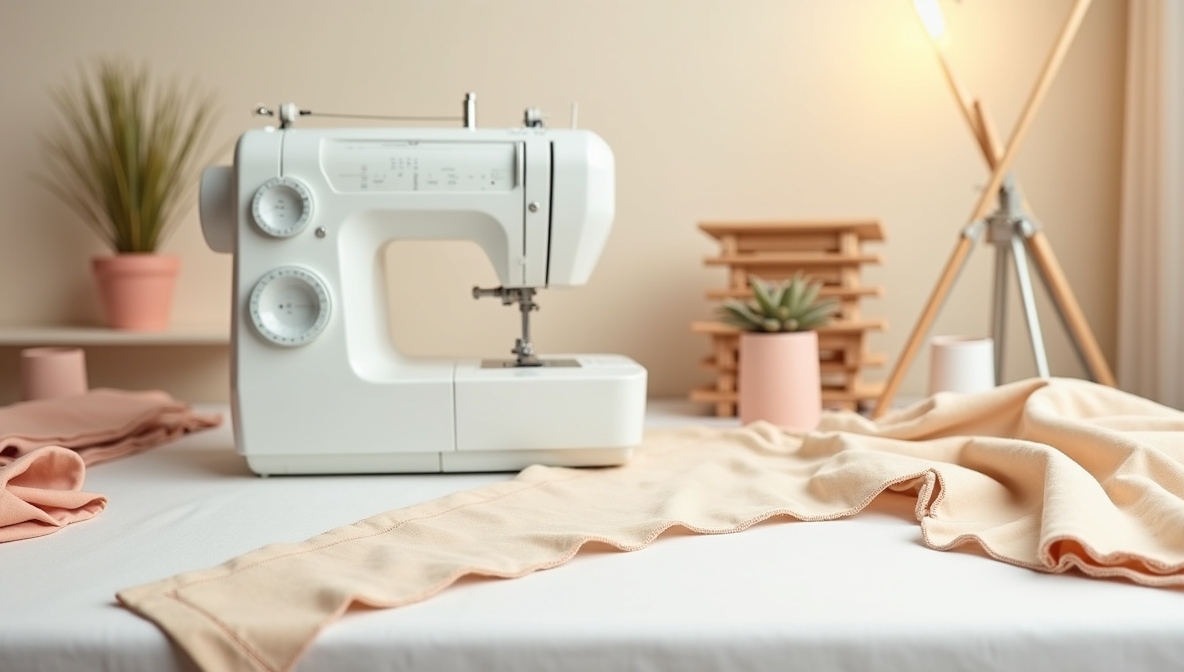
- Sewing machine (or needle if hand sewing)
- Thread matching your fabric
- Fabric for practice (cotton is ideal)
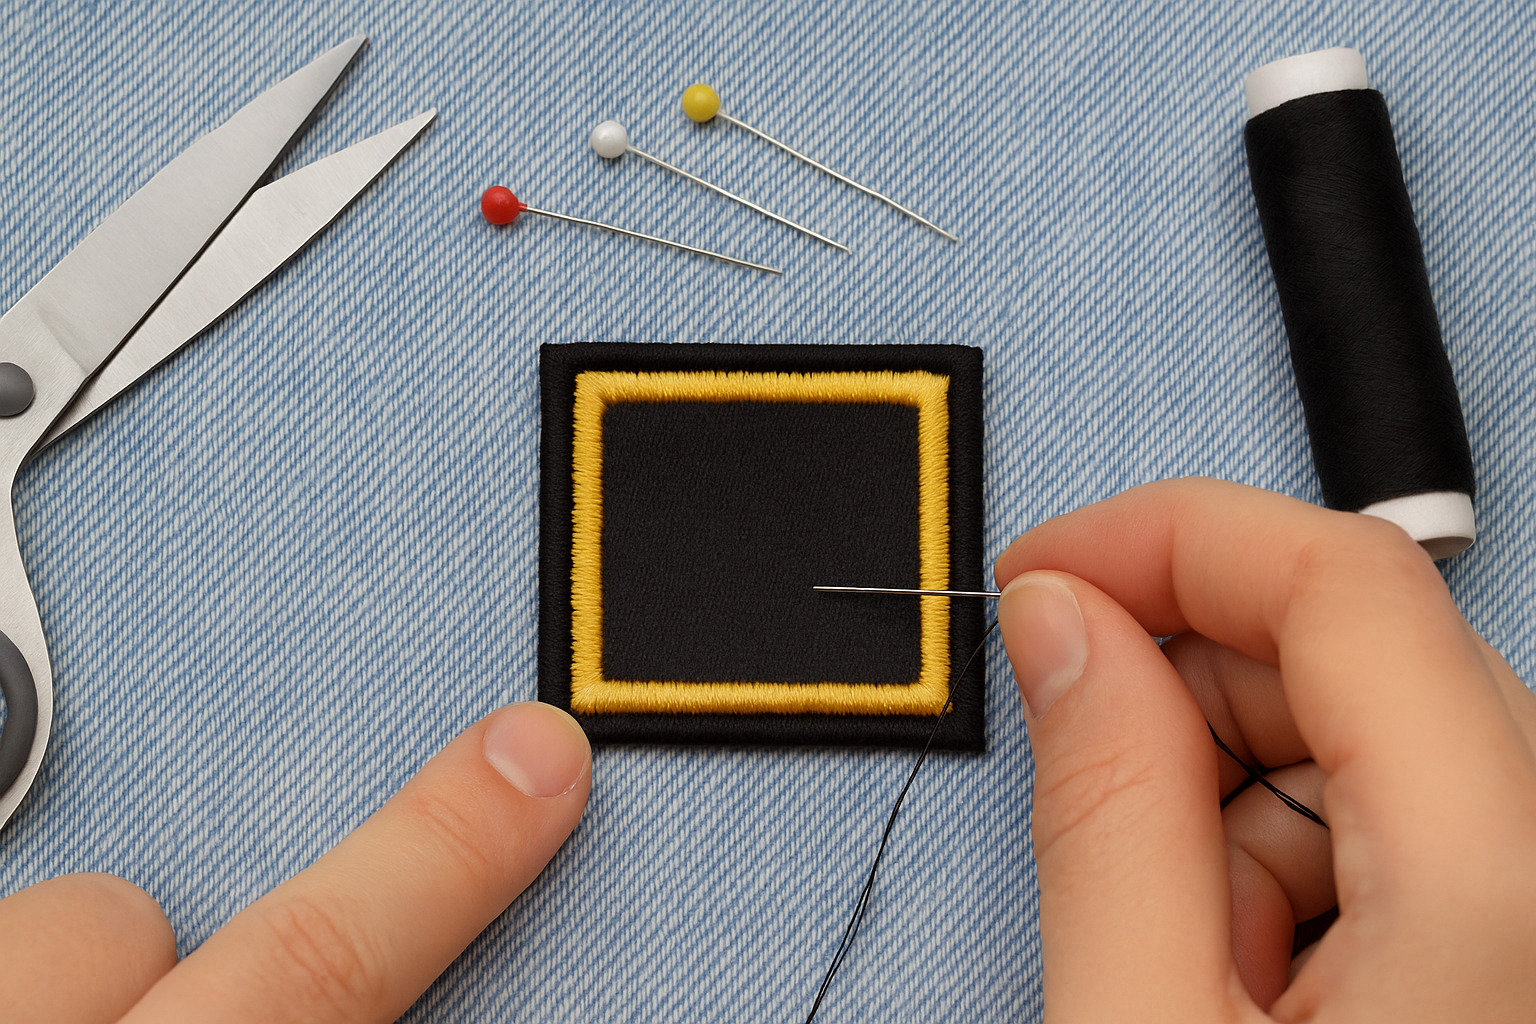
- Pins or fabric clips
- Measuring tape or ruler
- Fabric marking tools (chalk, washable pens)
- Iron and ironing board (for pressing seams)
Step-by-Step Guide to Sewing Straight Lines
1. Prepare Your Fabric
- Iron the fabric to remove wrinkles. Smooth fabric helps prevent distortion while sewing.
- Mark guidelines using a ruler and fabric-safe marker. Light lines can serve as a visual guide without being permanent.
- Pin layers if sewing more than one piece together. Pins prevent shifting that leads to crooked seams.
2. Set Up Your Sewing Machine
- Insert the correct needle based on fabric type.
- Thread the machine properly to avoid tension issues.
- Adjust stitch length. For straight lines, a medium stitch length (2.5–3 mm) works well.
3. Use the Seam Guide
Most sewing machines have lines etched onto the needle plate, known as seam guides. These lines correspond to specific seam allowances (e.g., 1/4″, 1/2″, 5/8″).
- Align the fabric edge with the desired seam guide rather than watching the needle. This keeps stitching consistent.
4. Start Sewing Slowly
- Lower the presser foot to secure the fabric.
- Hold the thread tails for the first few stitches to prevent tangling.
- Sew slowly, maintaining steady pressure on the foot pedal. Speed often causes uneven lines.
5. Guide, Don’t Pull
- Gently guide the fabric with your hands. Avoid pulling or pushing, as this can stretch the fabric and skew the line.
- Keep your eyes on the guide, not the needle. This simple shift improves accuracy.
6. Practice with Scrap Fabric
- Draw straight lines with a ruler on scrap fabric.
- Practice sewing along these lines without thread first to get used to guiding the fabric.
- Add thread and stitch over the same lines, adjusting your technique as needed.
Common Mistakes and How to Fix Them
- Wavy Lines: Often caused by inconsistent fabric feeding. Solution: Use both hands to gently guide without pulling.
- Puckering Fabric: Caused by incorrect tension or mismatched needle/thread to fabric. Solution: Check tension settings and needle size.
- Skipped Stitches: Result of dull needles or poor threading. Solution: Replace the needle and rethread the machine.
- Uneven Stitch Length: Usually due to erratic foot pedal pressure. Solution: Practice maintaining a steady speed.
Hand Sewing Straight Lines
If you’re hand sewing, keeping stitches straight requires similar principles:
- Mark straight lines with a ruler and fabric pen.
- Use a hoop to keep fabric taut if needed.
- Keep stitch lengths consistent by measuring with your fingers or using a stitching template.
Backstitching provides durability, while running stitches are faster but less secure.
Tips for Better Straight Lines
- Practice regularly. Muscle memory improves with repetition.
- Use masking tape as a temporary guide on your machine’s needle plate.
- Adjust the stitch length for better control; shorter stitches often appear straighter.
- Clean your machine regularly to ensure smooth fabric feeding.
Troubleshooting Sewing Machine Issues
- Fabric Not Moving Smoothly: Check if the feed dogs are engaged.
- Thread Bunching Under Fabric: Rethread both the top thread and bobbin.
- Needle Breaks Frequently: Replace with the correct type for your fabric.
Final Practice Challenge
- Create a grid: Draw vertical and horizontal lines on a fabric square.
- Sew along each line to practice turning corners and maintaining straight lines.
- Review your stitches: Look for consistent spacing, tension, and alignment.
Mastering straight stitches builds confidence and lays the groundwork for more complex projects. Every seam you sew improves your skills, so keep practicing, adjust as needed, and watch your technique improve with each stitch.