Sewing jeans requires sturdy techniques, durable materials, and careful attention to detail. A well-made pair not only fits perfectly but also lasts for years. This guide walks through every stage, from choosing fabric to finishing strong seams.
Choosing the Right Materials
1. Denim Fabric
Select high-quality denim with a weight between 10 and 14 ounces. Lightweight denim works better for slim or stretch-fit jeans, while heavier fabric suits workwear styles.
2. Thread
Use heavy-duty topstitching thread for visible seams and a regular polyester thread for interior seams. Keep both in matching or contrasting colors depending on your design.
3. Needles
Choose denim needles in sizes 90/14 or 100/16. These handle thick layers without breaking.
4. Hardware
Prepare rivets, a metal zipper or button fly, and jeans buttons. High-quality hardware improves durability.
5. Tools
Have fabric scissors, chalk, measuring tape, pins or clips, and a seam ripper. A hammer or press tool may be needed for rivets and buttons.
Taking Accurate Measurements
1. Waist and Hips
Measure the natural waistline and the fullest part of the hips.
2. Inseam and Outseam
The inseam runs from the crotch to the ankle. The outseam runs from the waist to the ankle.
3. Thigh and Knee
Measure around the widest part of the thigh and just above the knee for a comfortable fit.
Write all measurements clearly before cutting.
Cutting the Fabric
1. Prepare the Pattern
Use a jeans pattern or draft your own based on measurements. Include seam allowances and markings for pockets, zipper, and waistband placement.
2. Lay Out the Fabric
Fold the denim with right sides together. Place pattern pieces following the grainline. Align for minimal fabric waste.
3. Cut Carefully
Cut through both layers, keeping edges smooth. Mark all notches and pocket placements with chalk.
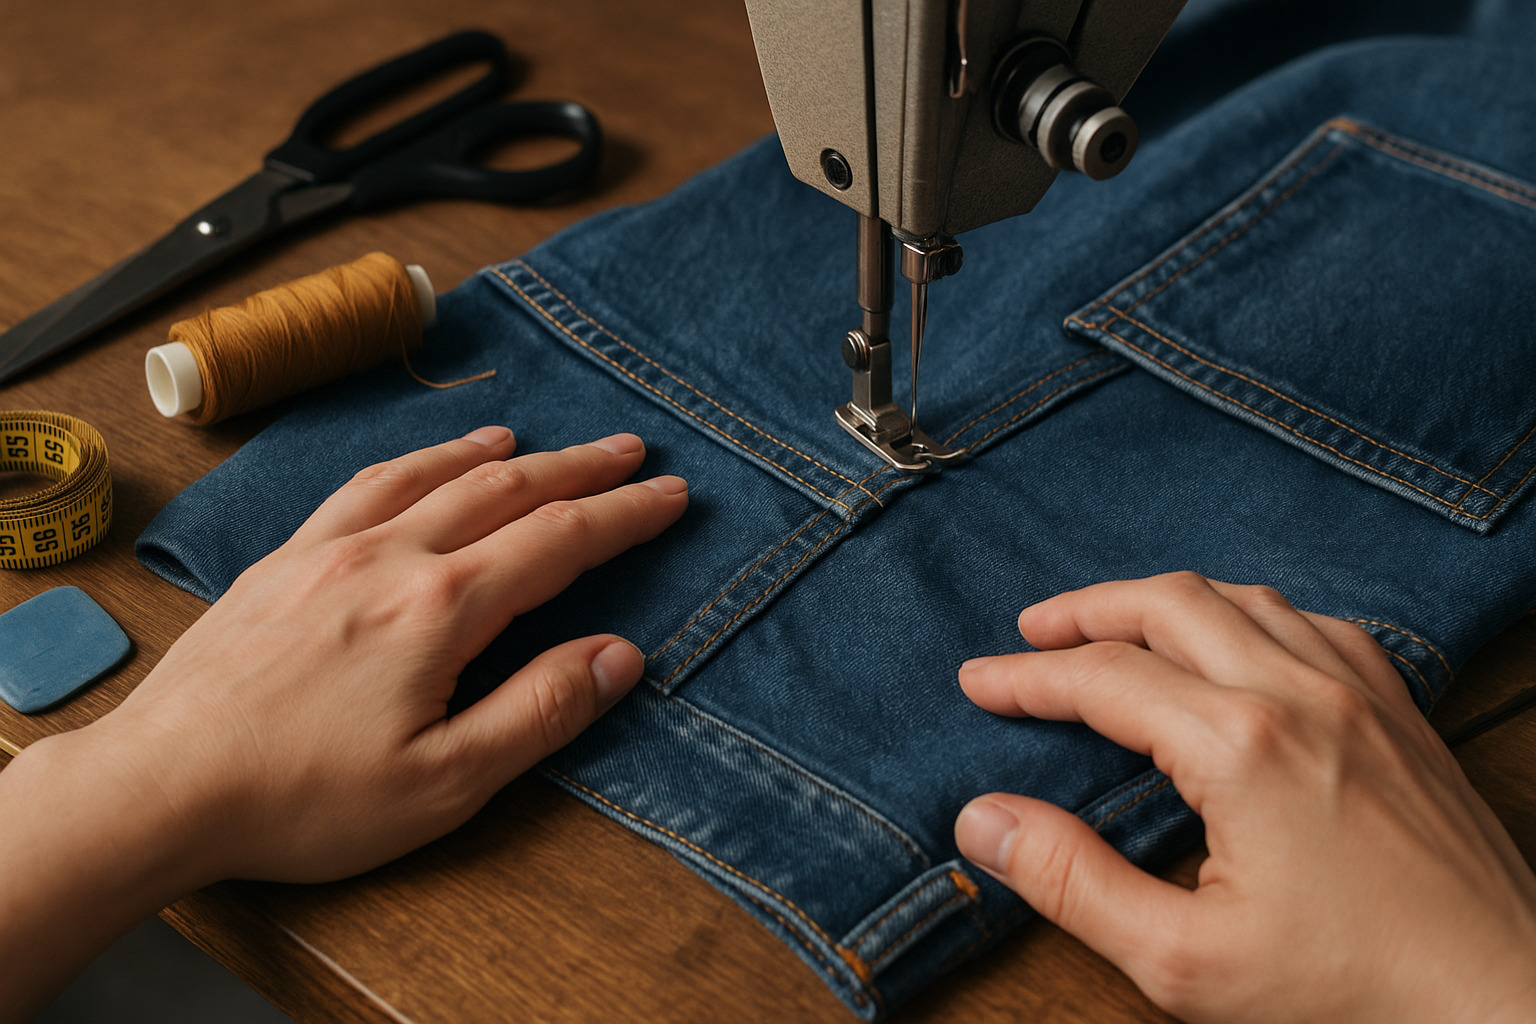
Sewing the Jeans
1. Constructing Pockets
- Start with the front pockets. Sew the pocket lining to the pocket opening.
- Understitch the lining to prevent rolling.
- Attach pocket bags to the front leg panels.
- Sew back pockets before assembling the back legs, topstitching for reinforcement.
2. Assembling Front and Back Legs
- Sew the front crotch seam first. Install the zipper or button fly before continuing.
- Sew the back yoke to the back legs, then attach the back crotch seam.
- Align front and back legs, matching notches, and sew side seams.
3. Sewing the Inseam
- Turn one leg inside out and insert the other leg into it, right sides together.
- Sew the inseam in one continuous line from ankle to ankle. Reinforce the crotch area with a second row of stitching.
4. Adding the Waistband
- Interface the waistband for stability.
- Sew the waistband to the jeans, ensuring the ends overlap for the button closure.
- Topstitch around for strength and a clean finish.
5. Hemming the Jeans
- Fold the hem twice to the desired length.
- Stitch slowly, as multiple layers can be thick. Use a hump jumper or fold of fabric under the presser foot for even stitching.
Installing Hardware
1. Buttons and Rivets
Mark placements precisely. Punch small holes with an awl before inserting rivets or buttons. Secure them with a hammer or press tool.
2. Zipper or Fly Closure
If not already installed, finish this step now. Test the zipper or button fly for smooth operation.
Topstitching for a Professional Look
Use heavy-duty topstitching thread. Common areas include:
- Side seams and inseams
- Around pockets and waistband
- Along the zipper or fly
Keep stitches evenly spaced. Two parallel rows add strength and style.
Finishing Touches
- Trim excess threads.
- Press all seams with a steam iron to flatten bulk.
- Check fit and make any necessary adjustments.
Tips for Better Results
- Always test stitch length and tension on scrap denim first.
- Clip or notch thick seam allowances to reduce bulk.
- Reinforce stress points, such as pocket corners and crotch seams, with bar tacks or extra stitching.
With patience and precision, a handmade pair of jeans can match or even surpass store-bought quality. Every stitch contributes to strength and style, making the finished garment both practical and personal.