Making your own scrunchie is simple, budget-friendly, and quick. If you’ve got basic sewing skills and a few spare materials, you can stitch one in under 20 minutes. Scrunchies are great for personal use or as handmade gifts. Here’s how to sew one from scratch using easy-to-find supplies.
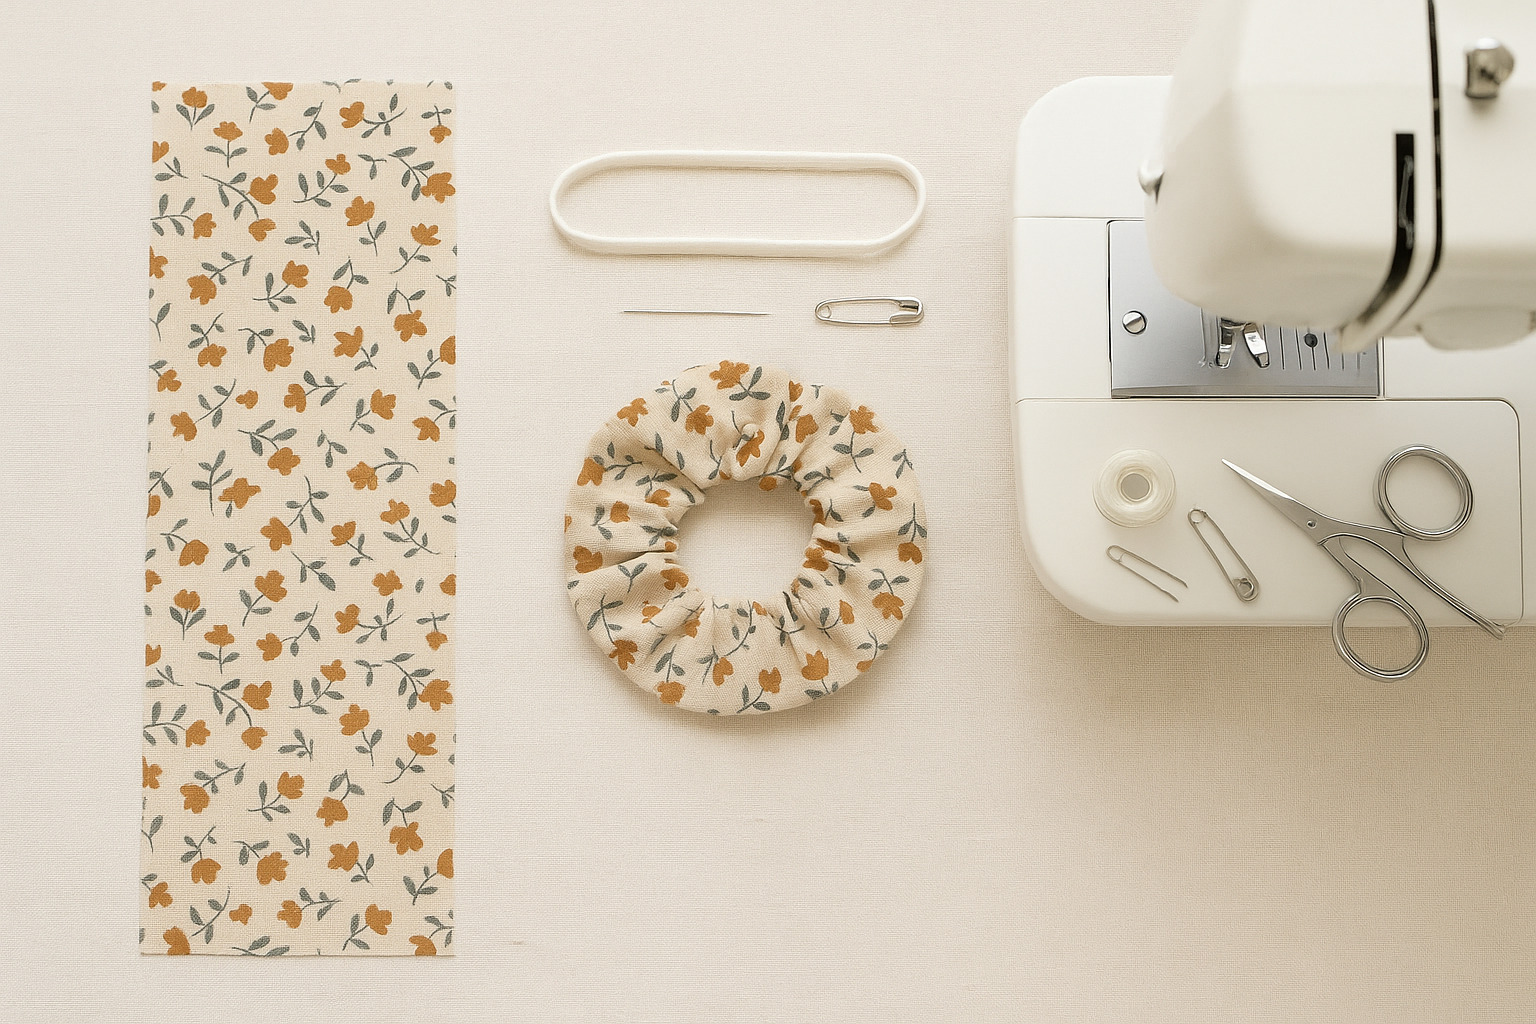
Materials You’ll Need
- Fabric: 18″ x 3.5″ (cotton works well)
- ¼” wide elastic: 8″ length
- Sewing machine or needle and thread
- Safety pin
- Scissors
- Pins or clips
- Ruler or measuring tape
- Iron (optional)
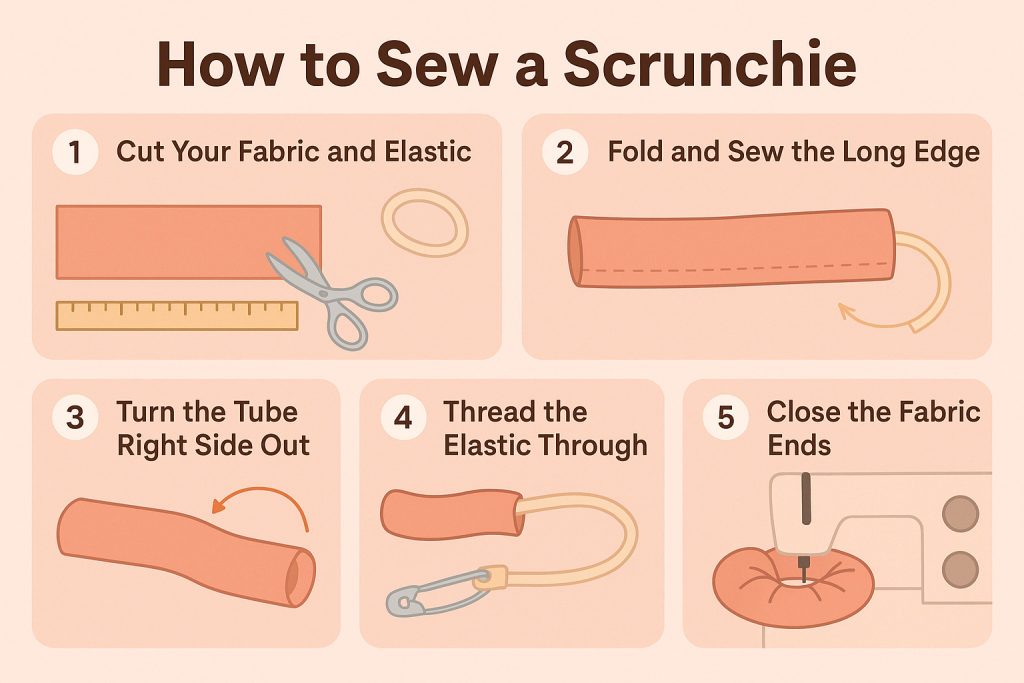
Step-by-Step Instructions
1. Cut Your Fabric and Elastic
Measure and cut your fabric to 18 inches long and 3.5 inches wide. Cut a piece of elastic to 8 inches. If you want a fluffier scrunchie, make the fabric longer; for a thinner one, shorten it.
2. Fold and Sew the Long Edge
Fold the fabric lengthwise, right sides together, so it forms a long strip. Sew along the long edge using a ¼” seam allowance. Leave both short ends open. You’ll now have a fabric tube.
3. Turn the Tube Right Side Out
Use a safety pin attached to one end to help flip the tube right side out. Push the pin through the tube slowly until the entire piece is right side out. Iron the tube flat if you want a neater look.
4. Thread the Elastic Through
Attach the safety pin to one end of the elastic. Thread it through the tube by pushing the pin through the fabric. Keep hold of the other end of the elastic so it doesn’t slip in. Once through, overlap both elastic ends by about ½” and sew them together securely.
5. Close the Fabric Ends
Tuck one raw end of the fabric about ½” inside the other. Match the edges so the seam is hidden. Pin in place. Sew across the edge close to the fold, either by hand or with a machine.
Tips for Better Results
- Use contrasting thread for a pop of detail, or matching thread for a cleaner finish.
- Try satin, velvet, or upcycled fabric for different textures.
- A small iron press after each major step keeps edges crisp and manageable.
- Double stitch the elastic join for durability.
Scrunchie Variations to Try
1. Oversized Scrunchie
Use a 22″ x 5″ fabric piece. This creates a puffier look ideal for thicker hair or style statements.
2. Skinny Scrunchie
Cut fabric to 14″ x 2″. Great for kids or a minimal look.
3. Bow Scrunchie
Add a simple bow by sewing a 6″ x 2″ piece of matching fabric into a knot and attaching it at the seam.
4. No-Sew Scrunchie
Use fabric glue in place of stitches for a quick fix, though durability may be lower.
Common Mistakes to Avoid
- Elastic too tight or too loose: Measure before inserting.
- Fabric tube not flipped properly: Use a wider tube or turn slowly with a pencil or chopstick.
- Seams showing: Ensure you fold one end neatly into the other before closing.
Why Make Your Own Scrunchies
- Custom colors to match outfits
- Use of fabric scraps = less waste
- Cheaper than store-bought
- Personal satisfaction from making something by hand
Scrunchies take minimal fabric and offer maximum reward. Whether you want one for everyday use or a personalized touch to a gift, sewing your own is practical and creative.