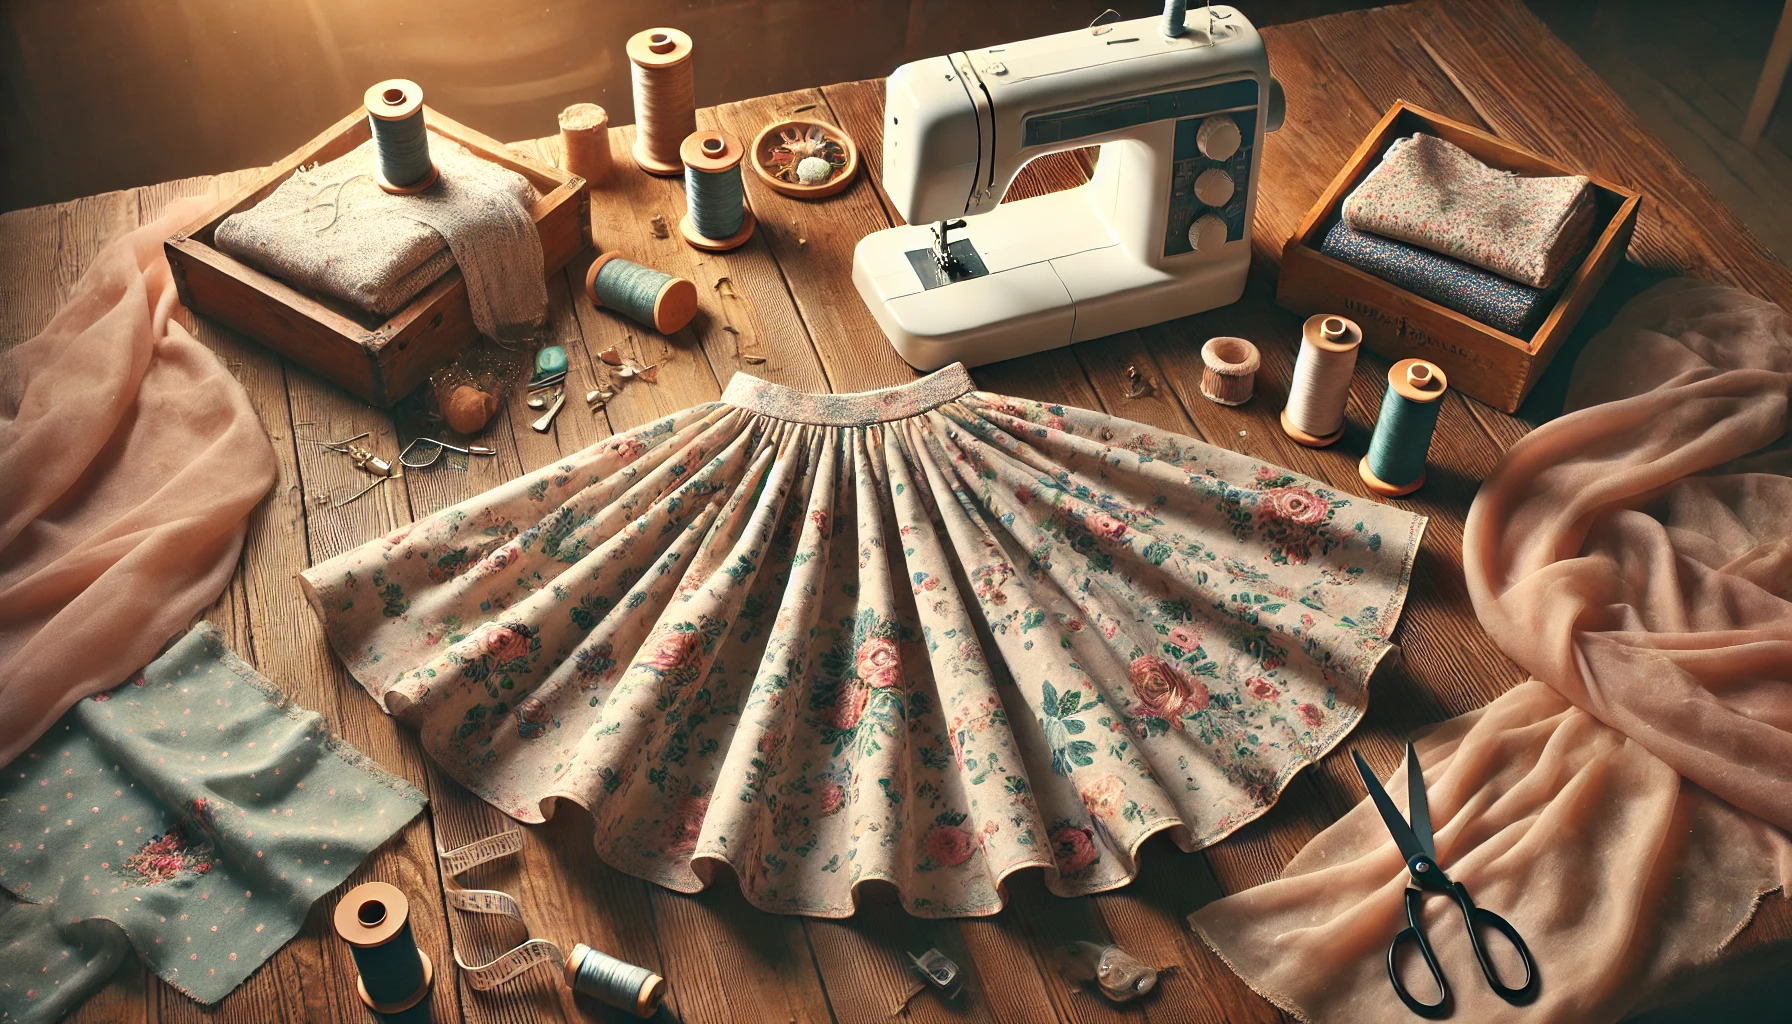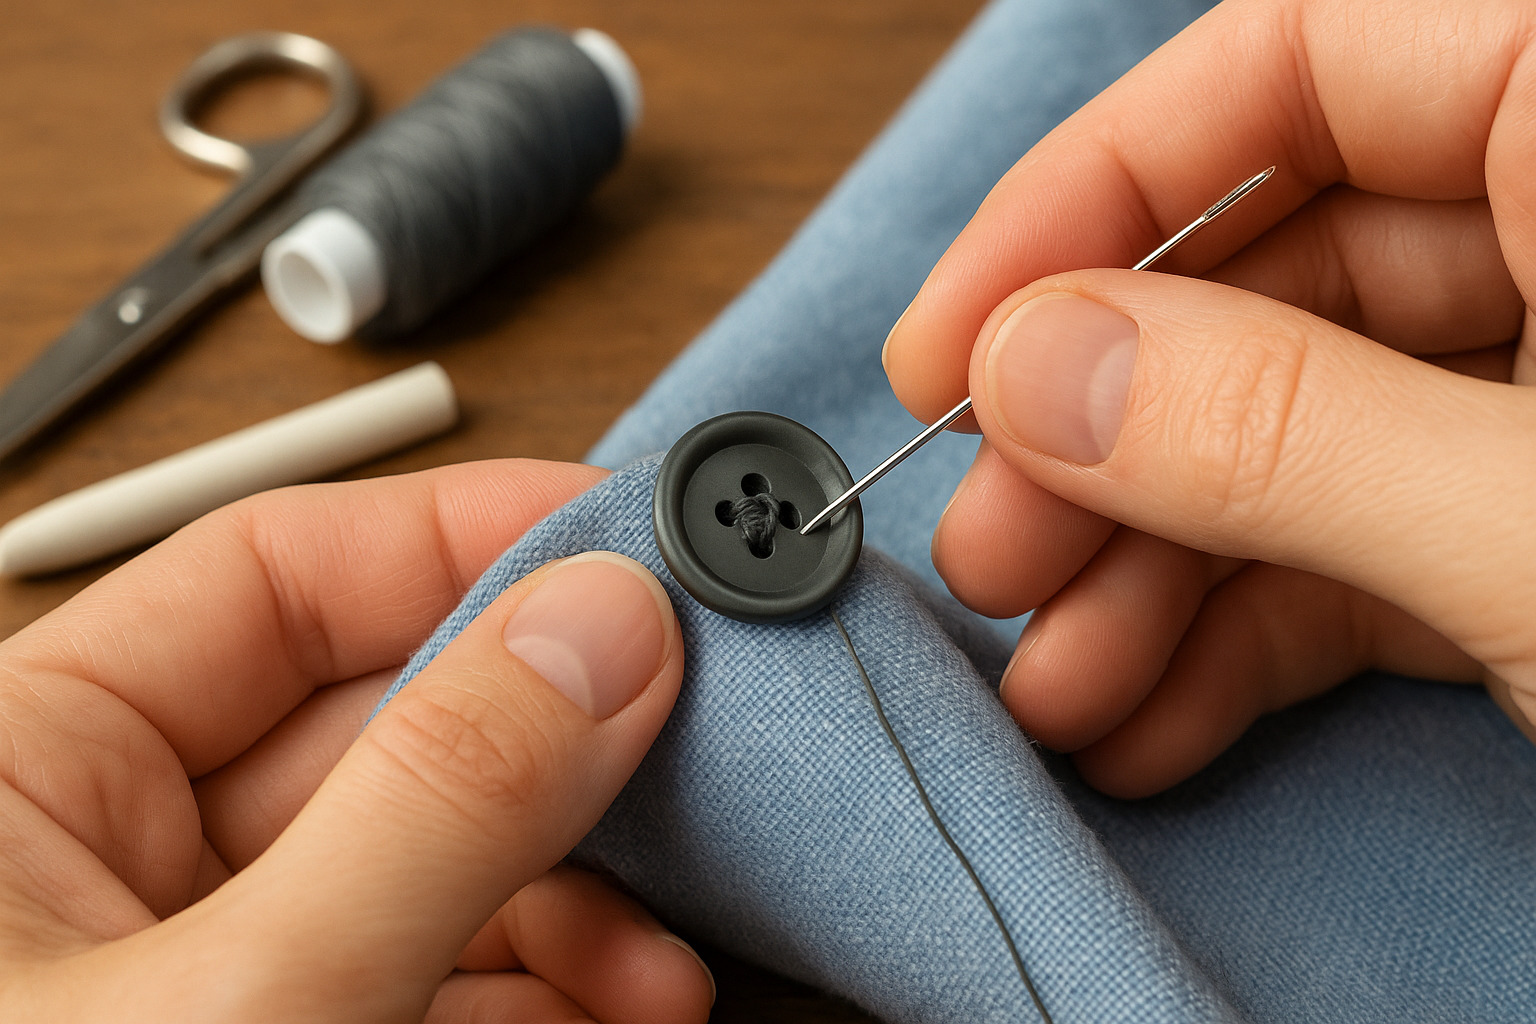
A missing button can turn a functional shirt, coat, or bag into something useless. But sewing a button back on is easier than most people think. All it takes is a needle, thread, a few minutes, and a bit of focus. Here’s how to do it properly.
What You’ll Need
- A needle
- Thread (matching the fabric or button color)
- Scissors
- The button (original or a replacement)
- A pencil or toothpick (for spacing)
- Fabric chalk or a marking pen (optional)
Types of Buttons
Before threading your needle, it helps to know the type of button you’re dealing with.
- Flat buttons with two or four holes – Common on shirts, pants, and jackets.
- Shank buttons – Have a loop on the back instead of holes through the surface.
Both types are easy to sew, but the method varies slightly.
Step-by-Step: Sewing a Flat Button
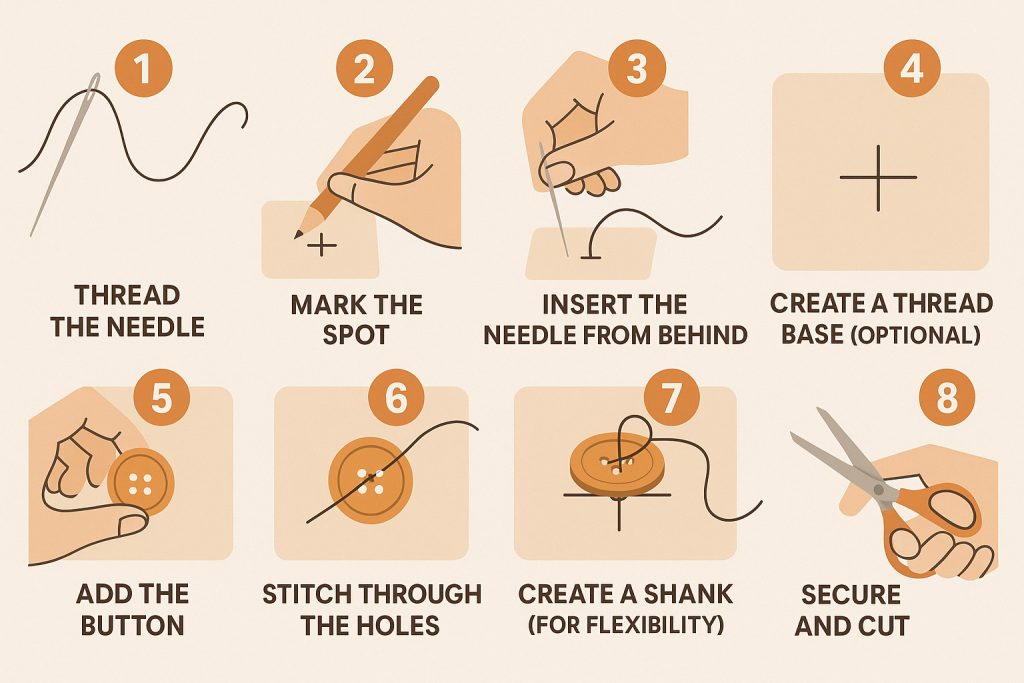
1. Thread the Needle
Cut a piece of thread about 18 inches long. Thread it through the needle and knot the two ends together. A double thread provides better strength.
2. Mark the Spot
Use fabric chalk or a pen to mark the position for the button. If the old thread marks are visible, use them.
3. Insert the Needle from Behind
Push the needle from the backside of the fabric to the front so the knot stays hidden.
4. Create a Thread Base (Optional)
If the fabric is lightweight, make a few small stitches where the button will go. This gives extra strength.
5. Add the Button
Place the button on the marked spot. For four-hole buttons, sew in an X pattern or parallel rows depending on your preference. Use a pencil or toothpick between the button and fabric while stitching to create a thread shank for easier buttoning.
6. Stitch Through the Holes
- For two-hole buttons, sew through both holes 4–6 times.
- For four-hole buttons, alternate diagonally or vertically/horizontally between the sets of holes. Each set should have 4–6 passes.
Pull the thread snug but not tight. The button should have a little movement.
7. Create a Shank (For Flexibility)
After stitching through the holes, bring the needle up through the fabric but not through a hole. Wrap the thread around the stitches under the button 3–5 times, then push the needle down and tie off on the back.
8. Secure and Cut
Tie a knot at the back of the fabric. Slide the needle under a few stitches to secure it further. Snip the thread.
Sewing a Shank Button
- Thread the needle and knot the end.
- Mark the spot where the button will go.
- Push the needle from back to front.
- Slide the needle through the shank loop and into the fabric.
- Repeat the stitch 6–8 times to anchor it.
- Wrap the thread tightly under the button a few times for extra hold.
- Finish with a knot at the back and trim the thread.
Tips for Better Results
- Use double thread for extra durability.
- If the button will take heavy stress, reinforce the area with a small piece of interfacing on the backside.
- Choose polyester thread for strength.
- Keep stitches neat and uniform.
- For matching sets of buttons, count stitches to keep everything consistent.
Common Mistakes to Avoid
- Too-tight stitching: Buttons need a little wiggle room.
- Wrong thread color: Use a matching or invisible thread.
- Skipping the shank: Without it, the fabric puckers and the button is harder to use.
- Loose knots: Always tie a secure finishing knot.
Final Thought: A button is small, but its job is big. With just a few stitches, you can bring a garment back to life. This isn’t just mending—it’s self-reliance in action.