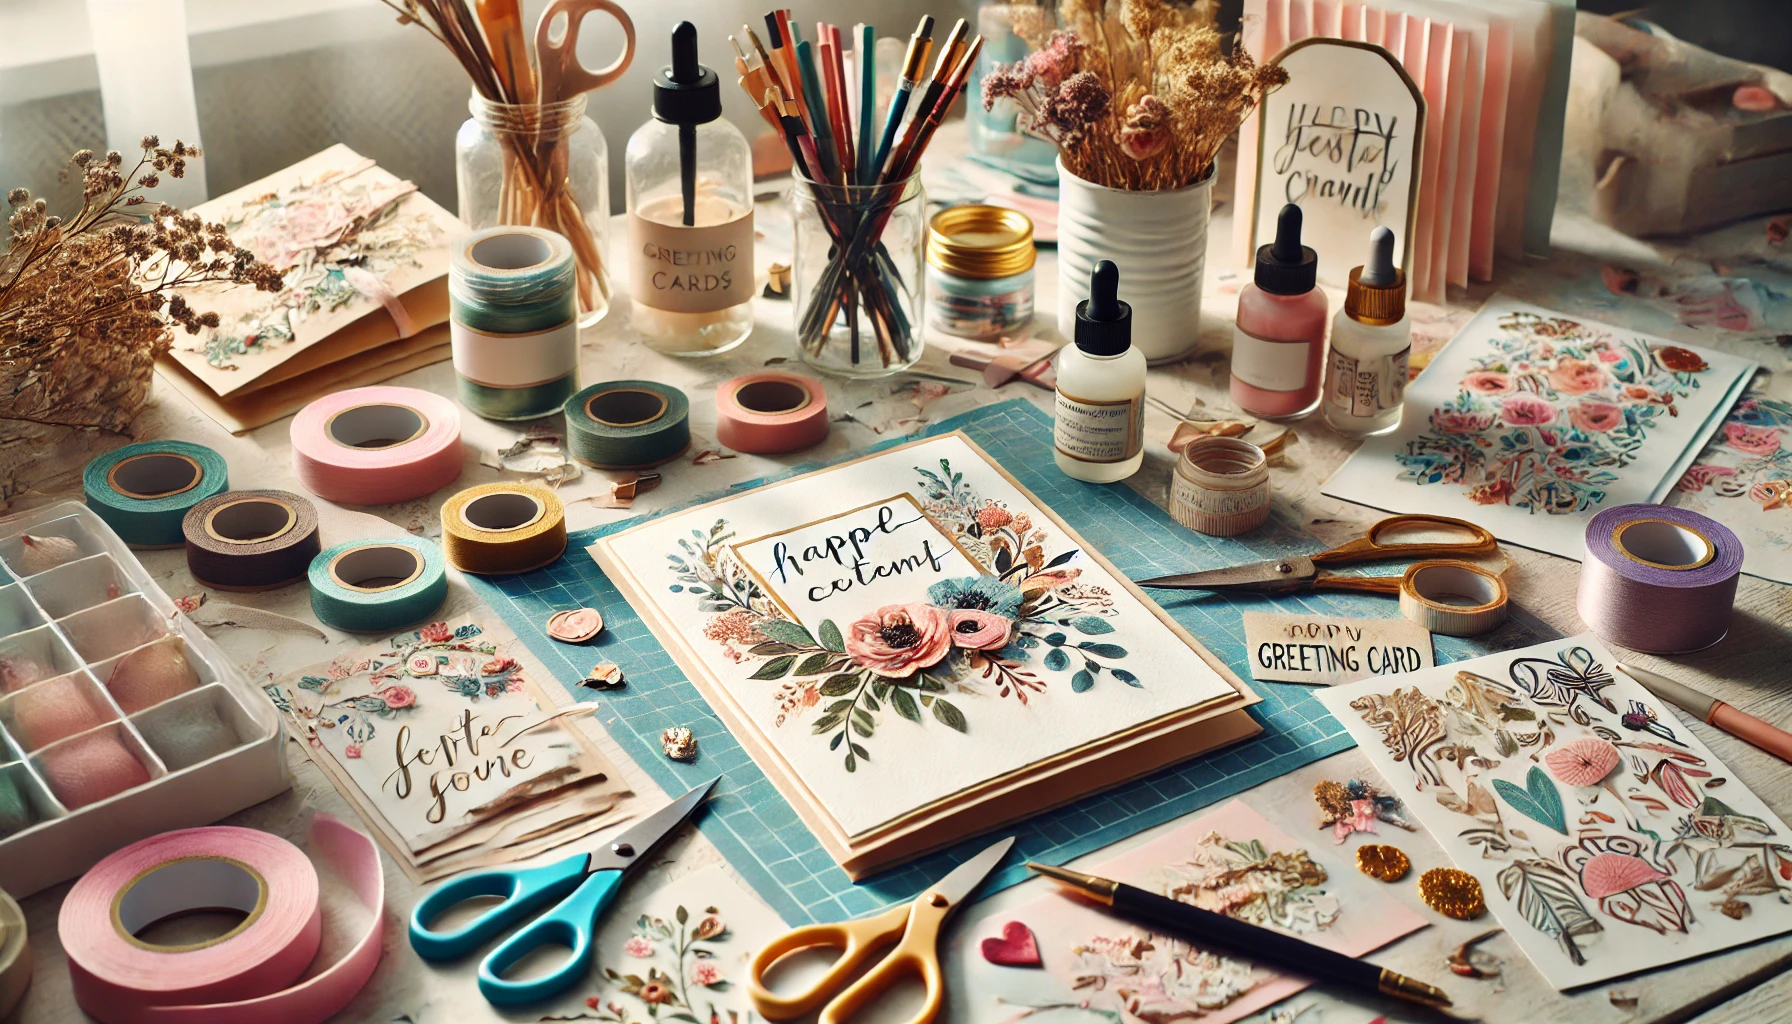
Some of the most cherished keepsakes aren’t bought in stores—they’re made by hand. A handmade greeting card carries something a store-bought card never can: time, effort, and a personal touch. It’s not just about what’s written inside, but the care put into every fold, color choice, and detail.
Making your own greeting cards isn’t hard, but it does take a little planning. The good news? You don’t need to be a professional artist to create something beautiful. With the right materials, techniques, and creativity, you can craft cards that people will want to hold onto for years.
Gather Your Materials
Before getting started, it helps to have everything within reach. The best part is you don’t need anything fancy—just a mix of basic supplies and a few creative touches.
- Cardstock or watercolor paper – A strong base is key. Printer paper won’t hold up well.
- Glue or double-sided tape – Liquid glue can warp paper, so glue sticks or tape are usually better.
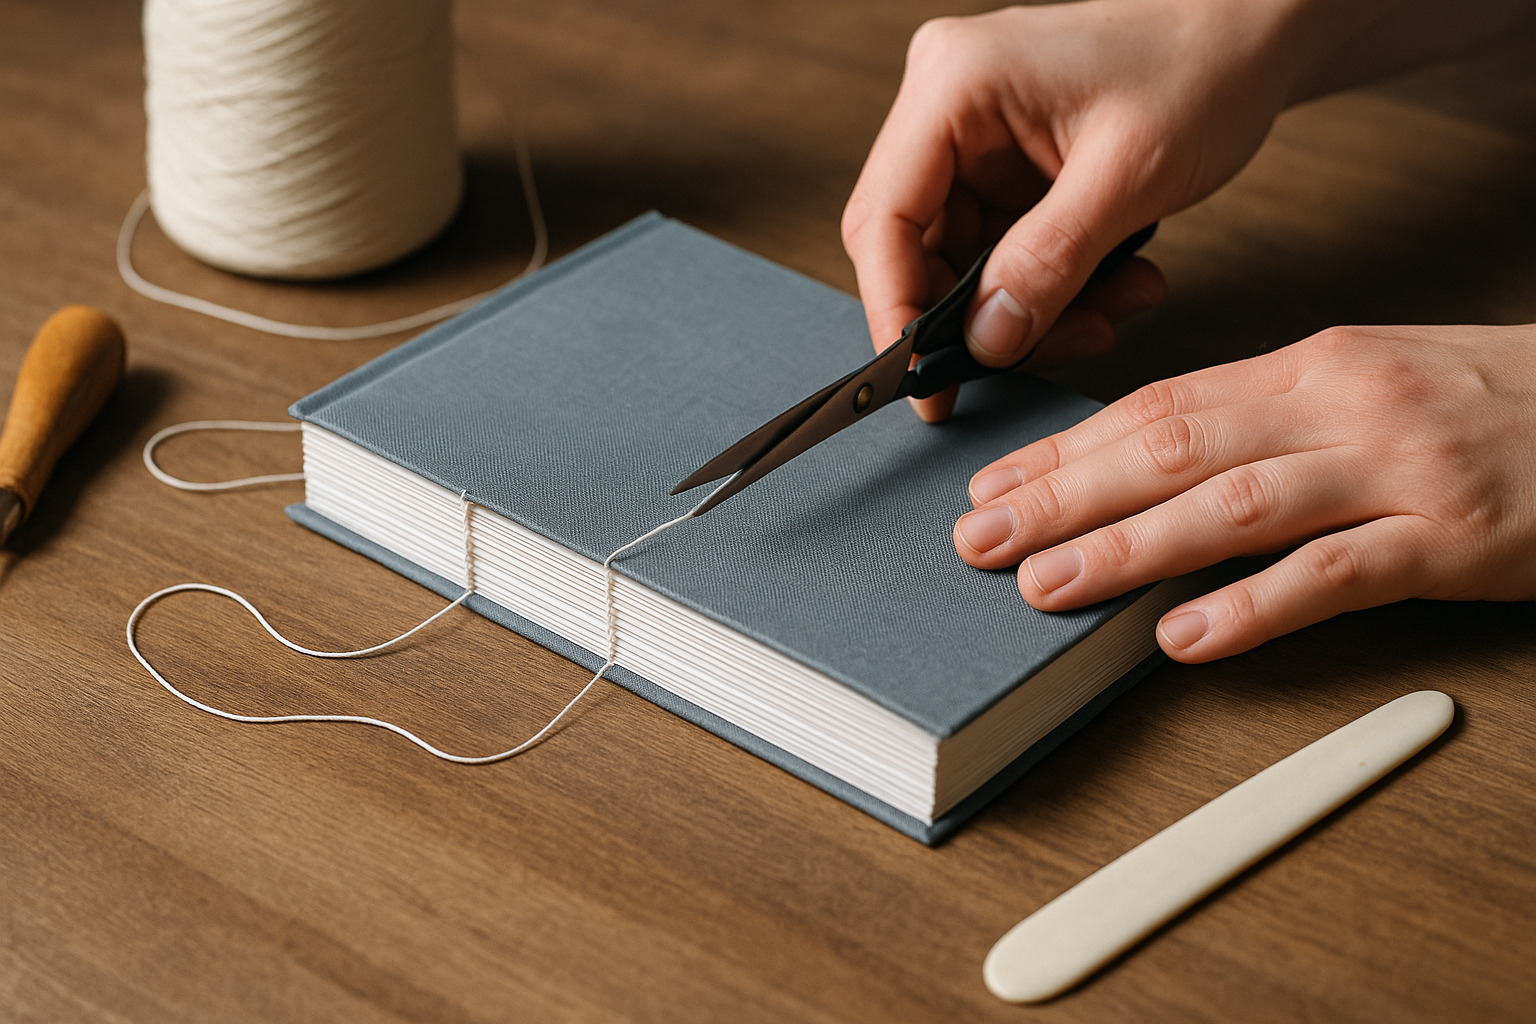
- Scissors or a craft knife – Clean cuts make a big difference in the final look.
- Pens, markers, or watercolor paints – Whatever medium you enjoy working with.
- Embellishments – Stickers, washi tape, dried flowers, or even fabric scraps can add texture.
If you want to make a lot of cards at once, consider pre-cutting your cardstock to size. A standard greeting card is usually 5×7 inches or 4×6 inches, but you can experiment with different shapes.
Choosing a Design
A great card starts with a solid idea. Think about the occasion and who the card is for. A birthday card for a child might be colorful and playful, while a sympathy card should have softer, more muted tones.
Sketching Your Layout
Before you start gluing things down, make a rough sketch. This helps avoid mistakes and ensures everything fits well on the card.
- Where will the main design or text go?
- Do you want a central image, or will text be the focal point?
- Will there be layers or pop-up elements?
You don’t need to be an artist to make a beautiful card—sometimes, simple is best.
Techniques to Make Your Cards Stand Out
Making a card from scratch means you can get creative with different techniques. Even if you’ve never made a card before, these ideas will help take it to the next level.
Layering for Depth
Adding layers gives your card dimension and a professional look. Some ways to do this:
- Use foam adhesive squares to make certain elements pop.
- Layer torn paper for a textured, artistic effect.
- Overlap different materials like lace, fabric, or ribbons.
Hand Lettering
Your handwriting doesn’t have to be perfect—sometimes, imperfection adds charm. If you want a polished look:
- Lightly sketch in pencil before using a pen.
- Use a brush pen for a smooth, calligraphy-like effect.
- Mix and match different font styles—bold block letters with delicate cursive can look great.
Pop-Up Elements
A simple pop-up feature makes a handmade card unforgettable. It’s easier than it looks:
- Cut two small parallel slits into the folded part of the card.
- Push the cut section forward to create a “step” that pops out when opened.
- Attach an image, cutout, or small design to this section.
Watercolor Backgrounds
If you want a soft, dreamy effect, watercolors are perfect. The key is not overworking the paint:
- Wet the paper slightly before adding color for smooth blends.
- Let one color dry before adding another to avoid muddy results.
- Use salt on wet paint for a unique, speckled effect.
Adding a Personal Touch
A handmade card isn’t just about design—it’s also about how personal it feels. Small details can make all the difference.
Inside Messages That Feel Genuine
A card can look stunning on the outside, but the message inside is what makes it meaningful. Instead of something generic, try:
- A short, heartfelt message specific to the person.
- A quote or lyric that reminds you of them.
- A small doodle or decorative border around the words.
If you’re nervous about handwriting, you can type it out, print it on vellum paper, and glue it inside for a polished look.
Custom Stamps or Seals
A wax seal or hand-carved stamp can make your card feel even more special. You can carve your own stamp using a rubber block and a craft knife or buy one with a design that matches your style.
Seasonal and Occasion-Based Ideas
Sometimes, coming up with a design is the hardest part. Here are some ideas based on different occasions.
Birthday Cards
- A collage-style card using magazine cutouts for a playful, scrapbook-like feel.
- A “Scratch-Off” card using acrylic paint mixed with dish soap over a hidden message.
- A mini envelope card with a tiny note inside for a surprise touch.
Holiday Cards
- A cut-out window with a festive scene inside.
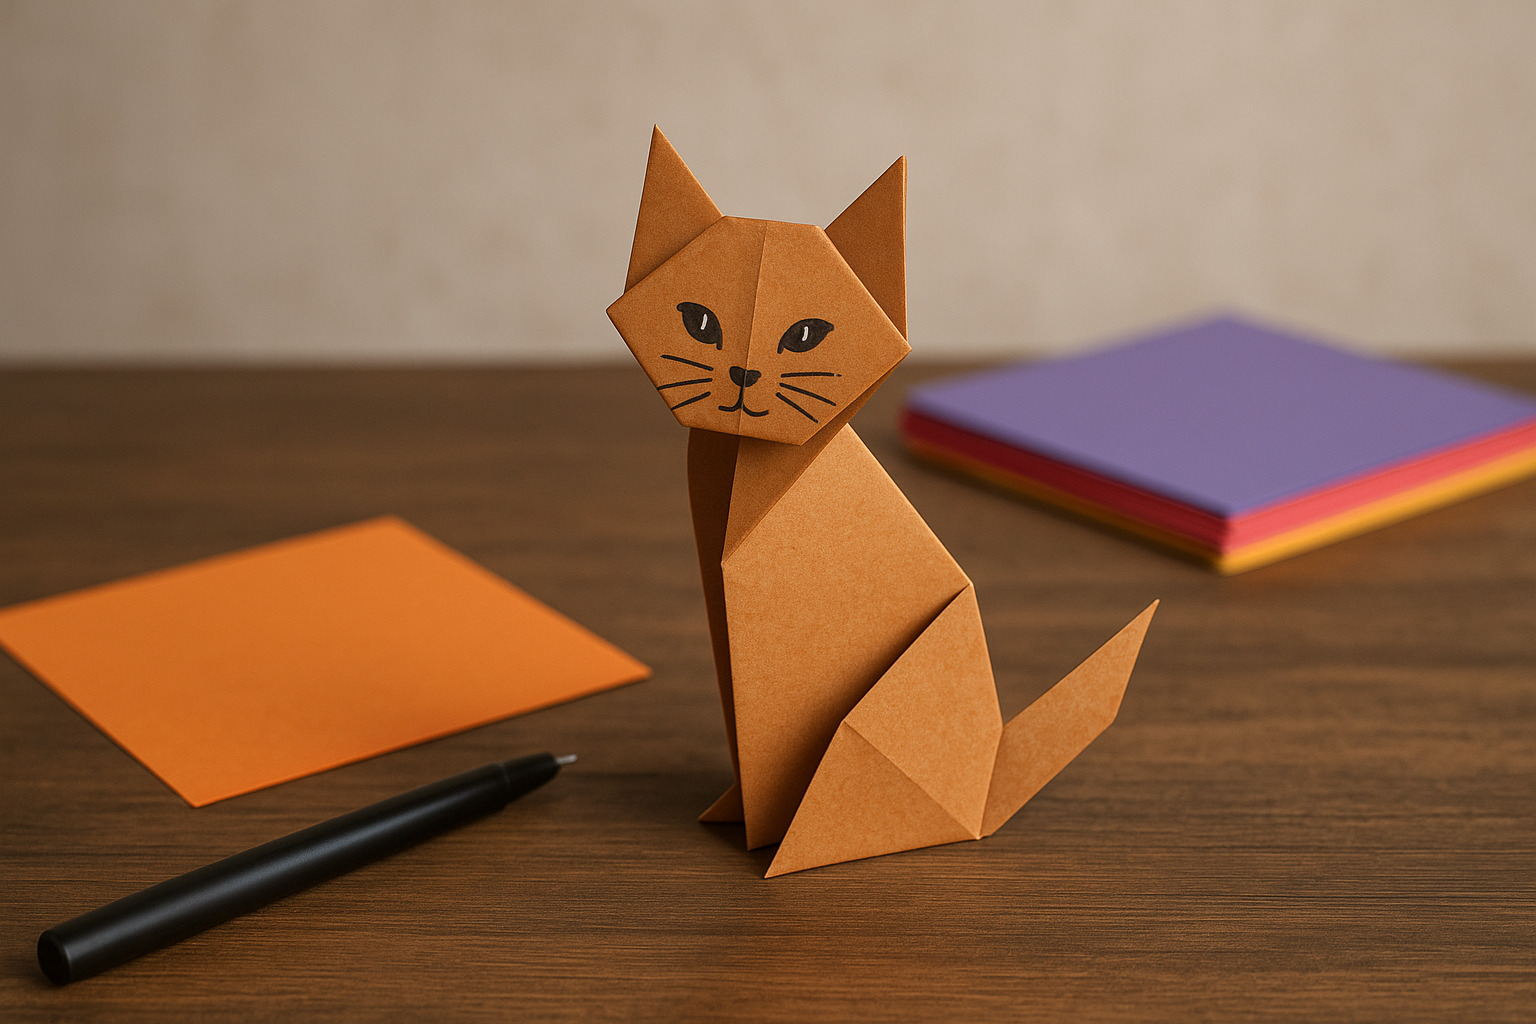
- A 3D tree or snowflake made from folded paper.
- A photo-based card with a printed picture and decorative borders.
Thank You Cards
- A handprint or thumbprint design for a personal touch.
- A monochrome design with metallic ink for an elegant, minimalistic style.
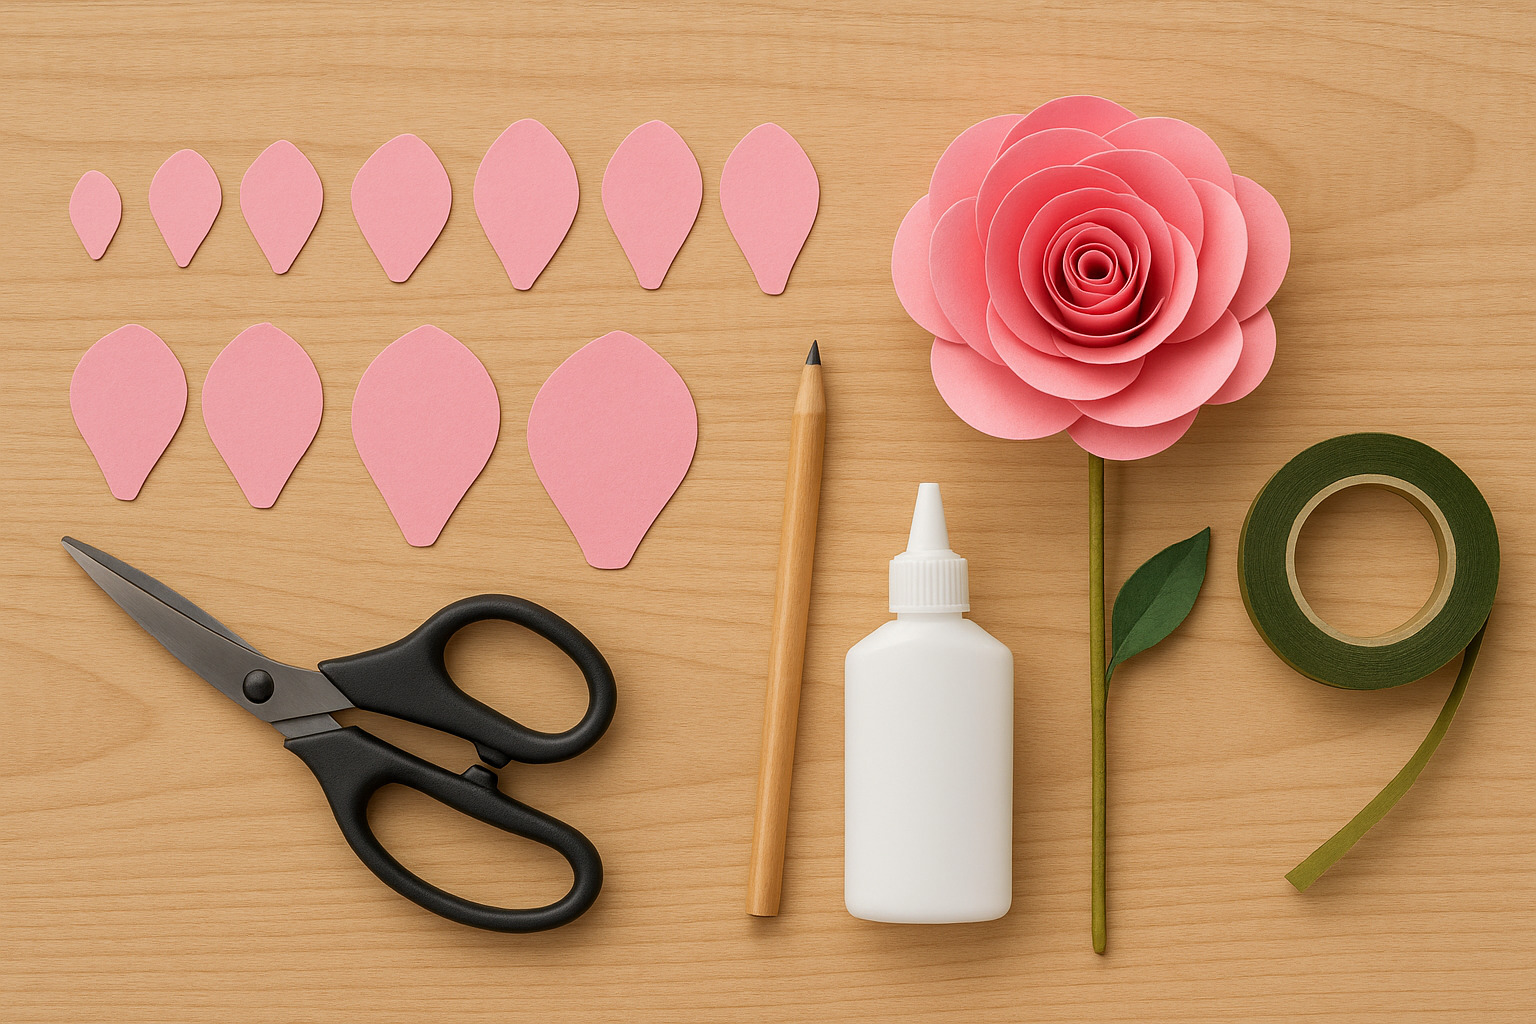
- A pressed flower card with real dried flowers glued onto the front.
Using Digital Elements in Handmade Cards
If you enjoy mixing traditional and digital elements, you can print out designs and add them to your cards. Websites that can offer printable card designs that you can edit and adjust before printing. You can also convert jpg to pdf files to ensure your designs print clearly without losing quality.
Common Mistakes to Avoid
Even simple handmade cards can go wrong if you rush the process. Here’s what to watch out for.
- Using too much glue – Paper can wrinkle and look messy.
- Skipping test sketches – A small mistake on a finished card can be frustrating.
- Overcrowding the design – White space can be just as important as decorations.
- Not letting ink or paint dry – Smudging can ruin an otherwise perfect design.
If something does go wrong, embrace it. A smudge or off-center cut can become part of the design with a little creativity.
Storing and Presenting Your Cards
Once you’ve made a few cards, you might want to keep some for future occasions. Store them in a dry place, ideally inside a box or envelope to prevent dust and fading.
If you’re gifting a handmade card, consider:
- Pairing it with a matching handmade envelope.
- Adding a ribbon or twine for extra charm.
- Including a small personal item like a pressed flower or a tiny keepsake inside.
Final Thoughts
Handmade greeting cards aren’t just pieces of paper—they’re little works of art that carry emotion and thoughtfulness. Whether you’re making one for a special occasion or just because, the effort you put into it will always shine through.
Even if your first few cards don’t look perfect, keep experimenting. With every card you create, you’ll find new ways to make them even more special. And the best part? Someone will always appreciate the time and love you put into it.