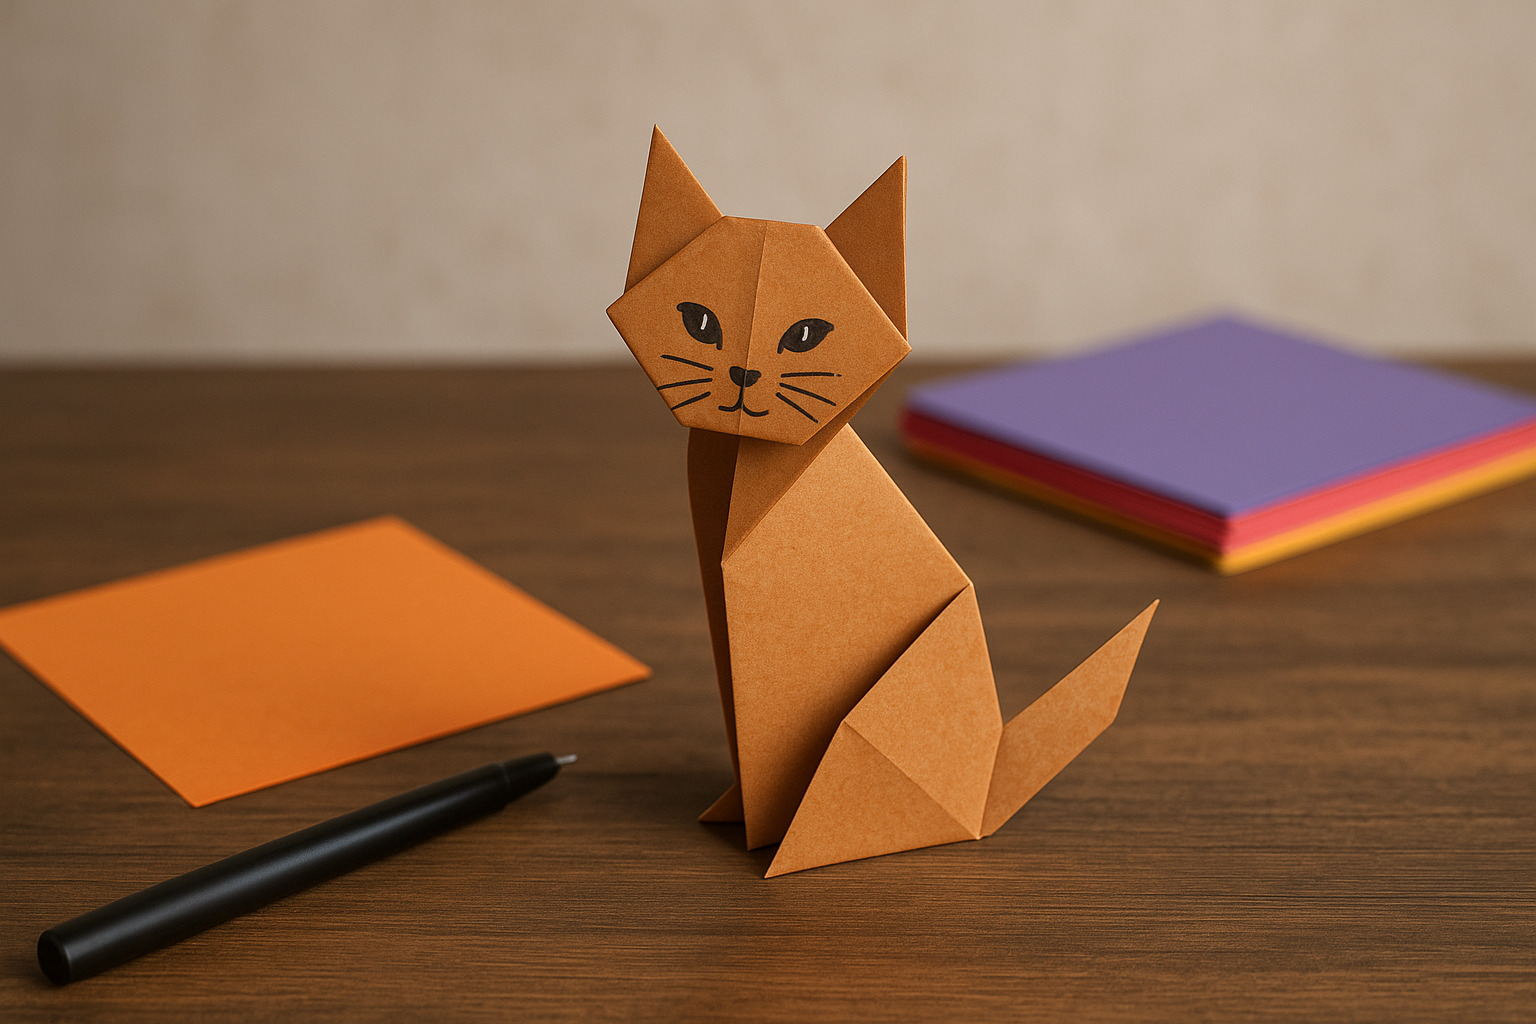
Origami has fascinated artists and hobbyists for centuries, transforming a single sheet of paper into intricate shapes. Among the many creations, the origami cat holds a special charm for its simplicity and graceful form. Whether you are learning for fun, as a classroom activity, or to create handmade gifts, this step-by-step guide will help you fold a neat and elegant paper cat.
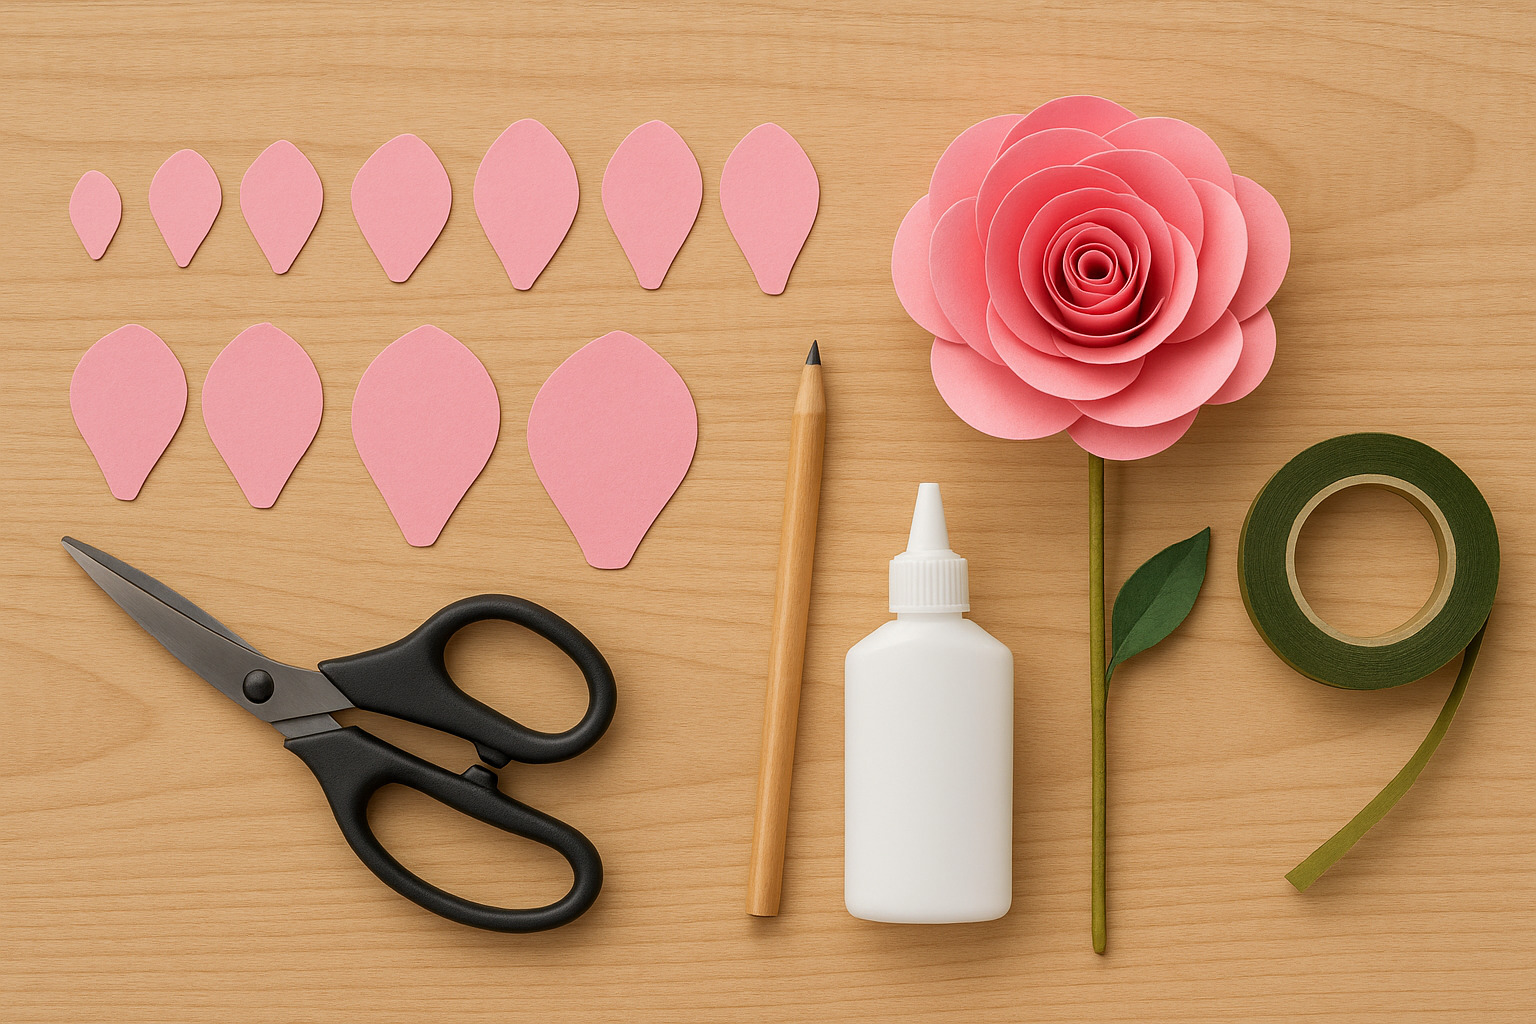
If you enjoy folding animals, you might also want to try learning how to make an origami dragon for a more challenging design or practice how to make paper roses to create decorative floral accents.
Materials You Will Need
Basic tools to get started:
- A square sheet of origami paper
- A flat, clean surface
- A pencil (optional, for marking folds)
- A black marker or pen for facial details
Choose a paper size that suits your preference. Standard 6×6 inch origami paper works well, but larger sheets are easier for beginners.
Step-by-Step Folding Instructions
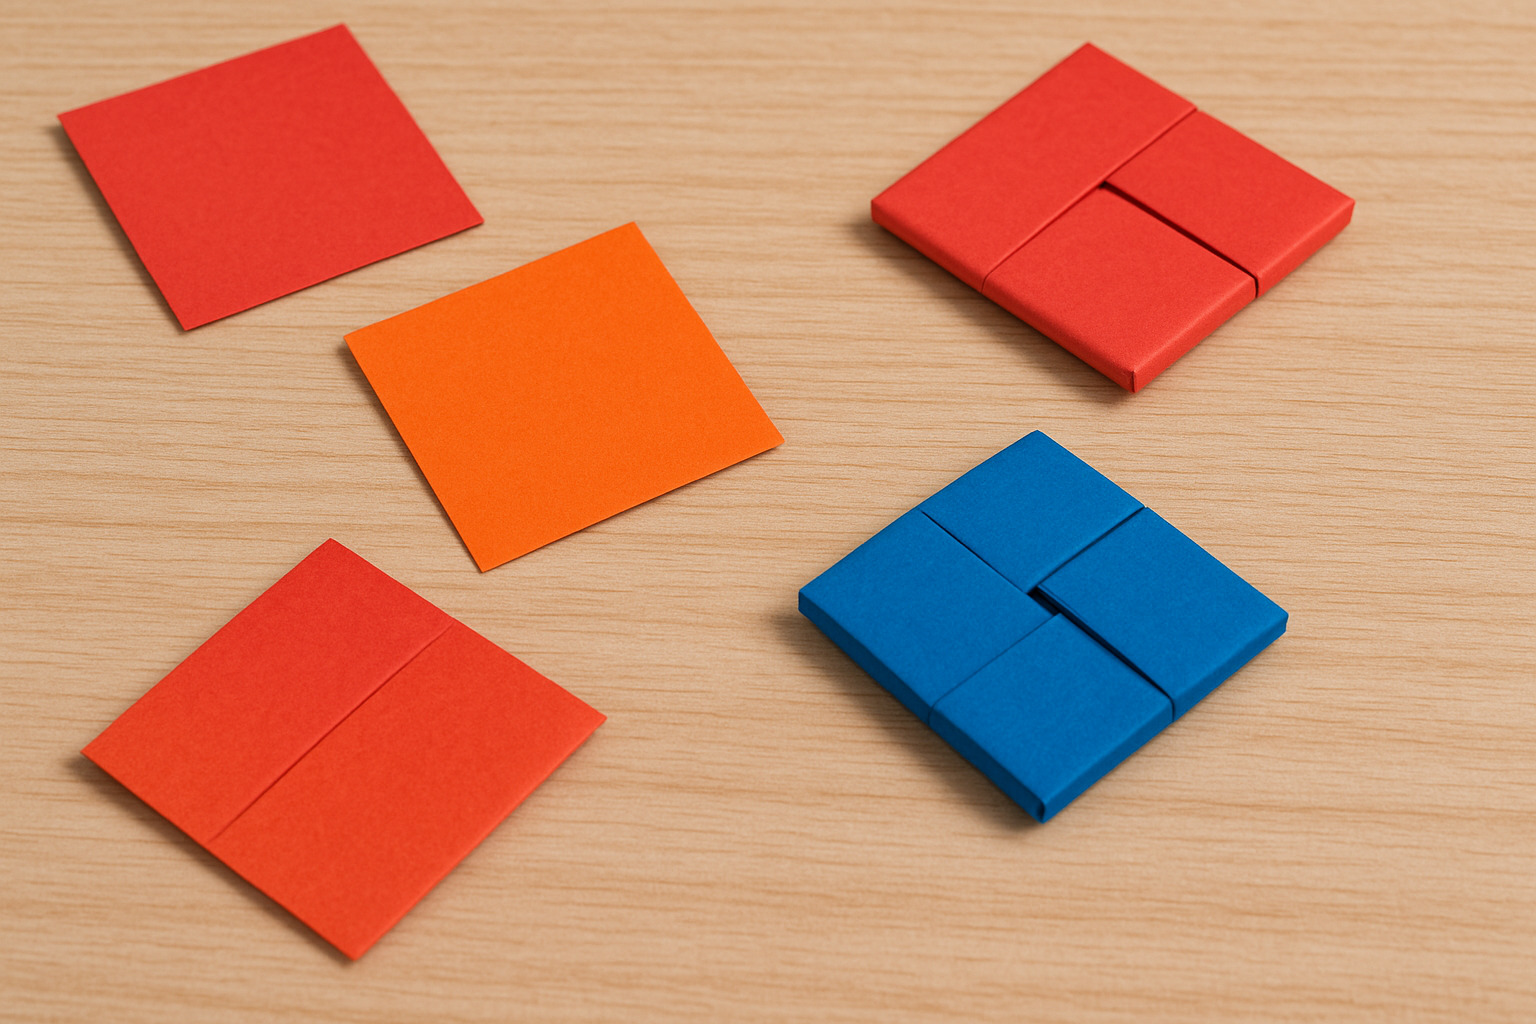
1. Start with a Square Base
- Place the paper color side down.
- Fold it diagonally to form a triangle.
- Crease firmly, then unfold.
- Repeat the diagonal fold on the other side.
These folds form guiding creases for later steps.
2. Create the Head Shape
- Fold the top corner down to meet the center point.
- Bring the left and right corners down toward the bottom, aligning them symmetrically.
- Adjust the folds slightly to create pointed ears at the top.
- Flip the paper over; you should see a cat-like triangular head forming.
3. Form the Body
- Take another square sheet if you want a full-bodied cat.
- Fold it diagonally into a triangle.
- Fold one corner upward, leaving a small triangular tail at the back.
- Fold the top point downward to form the chest.
Attach the head to the body using glue if you prefer a standing model.
Adding Details
Bring your origami cat to life with minimal decoration.
- Eyes: Draw two oval eyes with a black pen or use small stickers.
- Nose: A small upside-down triangle works well.
- Whiskers: Three short lines on each side give a realistic look.
Keep the details simple to maintain the clean lines of origami.
Tips for Perfect Folds
- Always crease sharply for precise angles.
- Use thinner paper for easier shaping.
- Practice on plain paper before switching to decorative sheets.
- Work slowly; rushing often leads to misaligned folds.
Variations to Try
You can experiment with different styles once you master the basic cat.
- Sitting Cat: Adjust the body folds to create a seated posture.
- Playful Kitten: Shorten the ears and bend the tail upward.
- Striped Cat: Use patterned paper to mimic natural markings.
- Miniature Version: Try folding tiny squares for a set of small cats.
Creative Uses for Origami Cats
- Bookmarks: Flattened cat heads make unique page markers.
- Gift Toppers: Attach to wrapped presents for a handmade touch.
- Room Decor: Hang multiple cats on strings to create garlands.
- Educational Tools: Teach kids about geometry through folding activities.
Common Mistakes and How to Fix Them
- Uneven Ears
Check that your diagonal creases are sharp and aligned before folding the ears. - Loose Head Shape
Reinforce creases with your fingernail to keep the shape intact. - Paper Tearing
Use thinner origami paper but avoid overly fragile sheets; moderate weight is best. - Misaligned Body
Keep the base triangle edges flush before forming the tail and chest.
Why Origami Cats Are Popular Among Beginners
Origami cats are ideal for beginners because the folding sequence is straightforward, requiring only a few steps compared to complex animal figures. The result is instantly recognizable and customizable, encouraging creativity through variations in ear size, facial expressions, and paper patterns.