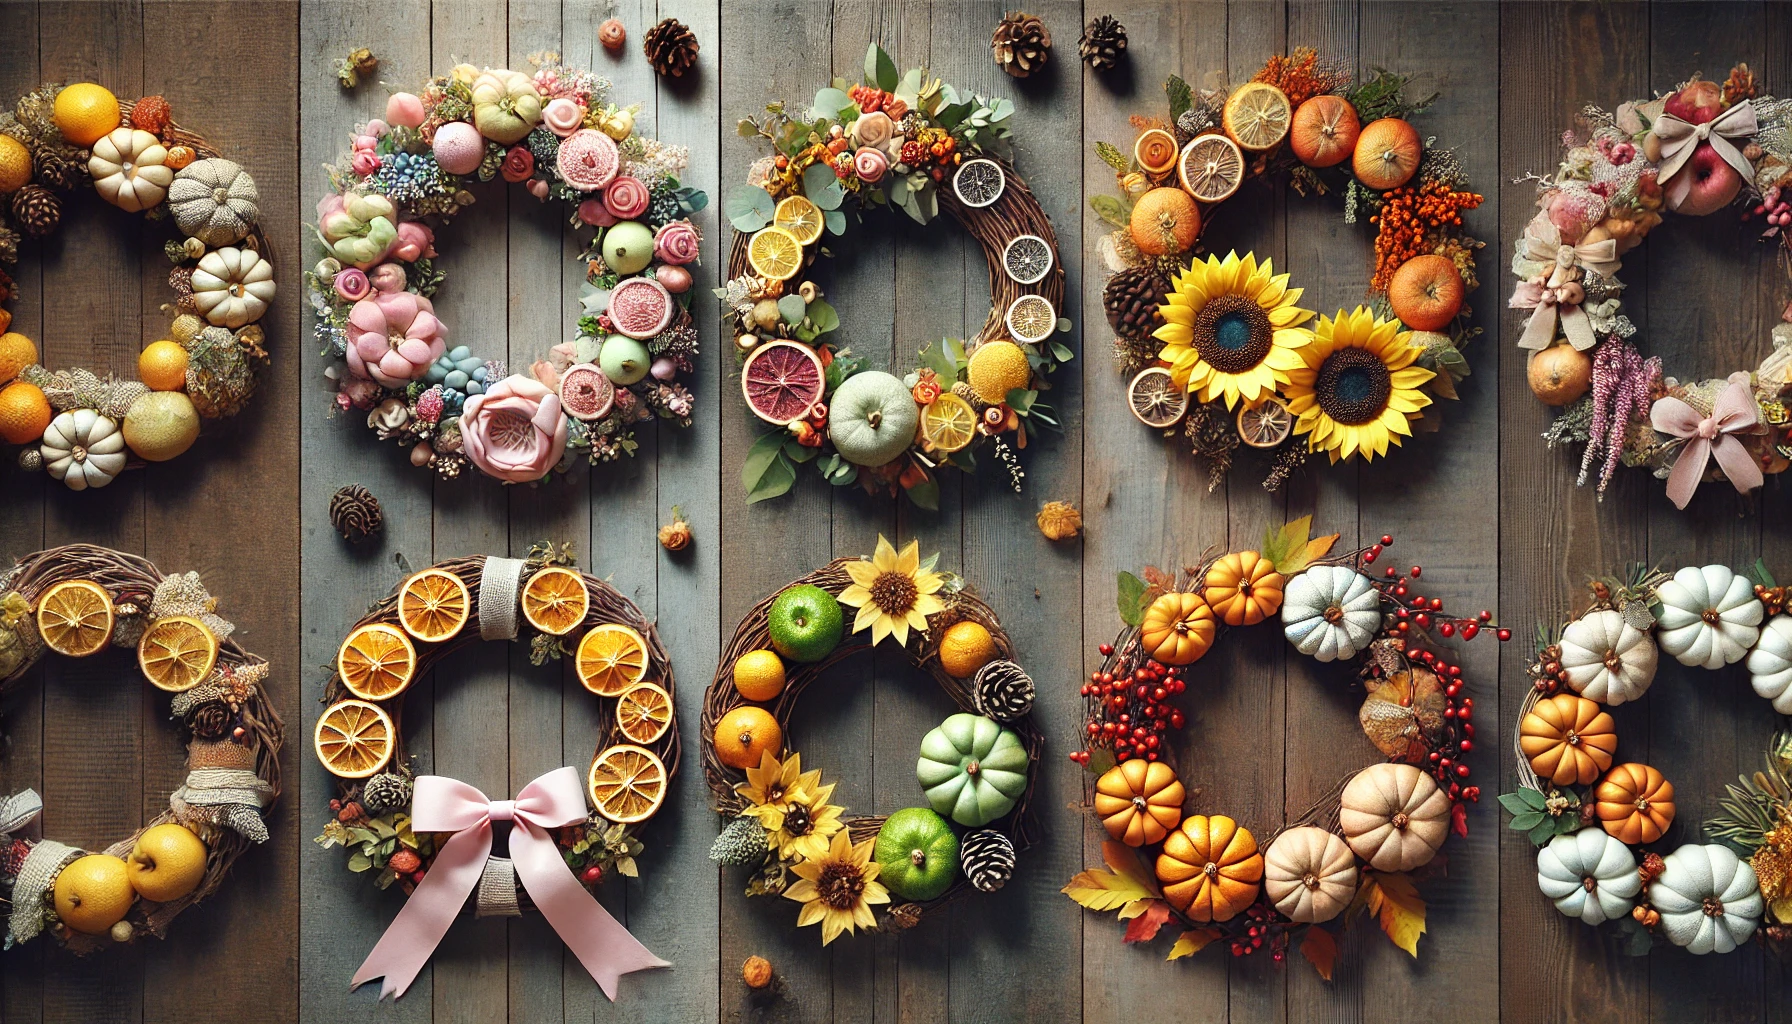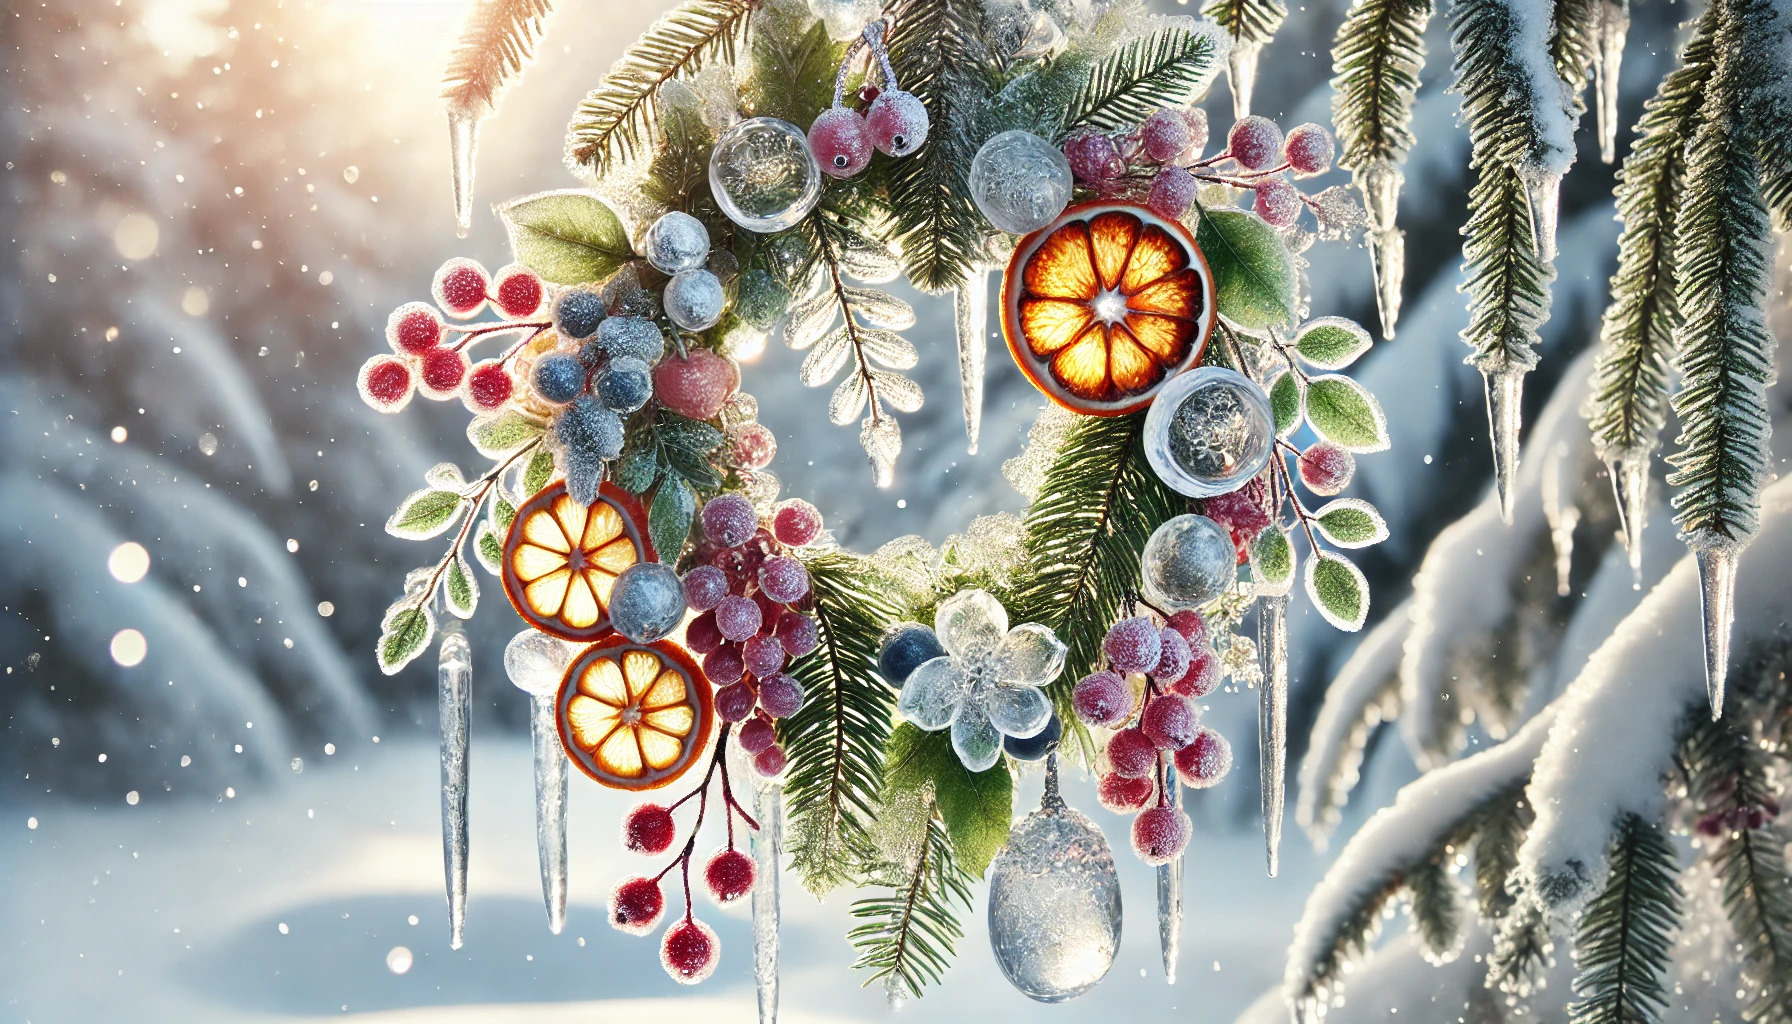
Creating an ice garland brings a stunning seasonal touch to any outdoor space. It’s a simple yet artistic craft that uses natural elements frozen into shimmering decorations. These garlands make beautiful additions to winter gardens, porches, and holiday gatherings.
Materials Needed
- Small bowls or silicone molds
- Water
- Twine or ribbon
- Fresh berries (cranberries, holly, or juniper)
- Evergreen sprigs
- Orange and lemon slices
- Small pinecones
- Flower petals
- Glitter (optional for extra sparkle)
- Baking sheet or tray
- Freezer or outdoor freezing temperatures
Step-by-Step Instructions
1. Prepare the Ingredients
Gather natural elements that will look beautiful encased in ice. Fresh berries, greenery, and citrus slices create a vibrant contrast. Avoid materials that wilt quickly, as they won’t maintain their shape once frozen.
2. Arrange the Garland Components
Lay out the items in small bowls or silicone molds. Distribute them evenly so each frozen piece has a balanced mix of colors and textures.
3. Add the Twine or Ribbon
Cut a piece of twine or ribbon long enough for your garland. Place a section of the string inside each mold, ensuring part of it is submerged in the water. This will keep the frozen pieces connected when strung together.
4. Fill with Water
Slowly pour water into each mold, covering the natural elements. Leave a little room for expansion as the water freezes. For a clear effect, use distilled water to minimize cloudiness.
5. Freeze the Pieces
Place the tray in the freezer or outside in subzero temperatures. Allow the water to freeze solid, which typically takes four to six hours, depending on conditions.
6. Remove from Molds
Once fully frozen, carefully pop the ice shapes out of their molds. If they stick, let them sit for a minute at room temperature before trying again.
7. Hang the Ice Garland
Drape the garland over tree branches, railings, or anywhere outdoors where the temperature stays cold. Position it where sunlight can catch the frozen details, making them shimmer.
Tips for Long-Lasting Results
- If the weather is slightly above freezing, hang the garland in shaded areas to slow melting.
- Avoid using materials that absorb water, such as dried leaves, as they may become soggy.
- Add a dash of salt to the water to slow down the melting process.
- Experiment with different molds, such as cookie cutters, for unique shapes.
Variations to Try
Festive Ice Garland
Use red and green elements such as cranberries and pine for a holiday-themed decoration.
Citrus Ice Garland
Lemon, lime, and orange slices create a bright and fragrant winter display.
Glitter Ice Garland
For a shimmering effect, sprinkle biodegradable glitter into the water before freezing.
Floral Ice Garland
Rose petals, pansies, or daisies add a delicate and colorful touch.
Frequently Asked Questions
Can I use tap water instead of distilled water?
Yes, but distilled water provides a clearer ice effect with fewer air bubbles.
How long will an ice garland last?
This depends on temperature. In consistently freezing weather, it can last for several days.
Will this harm birds or wildlife?
As long as you use natural, non-toxic materials, it’s safe for outdoor creatures.
Can I make an indoor version?
An ice garland works best in cold environments. For an indoor alternative, create a dried flower or citrus garland instead.
An ice garland brings nature’s beauty into winter decor. With just a few materials, you can craft a piece that transforms any outdoor space into a frozen wonderland.