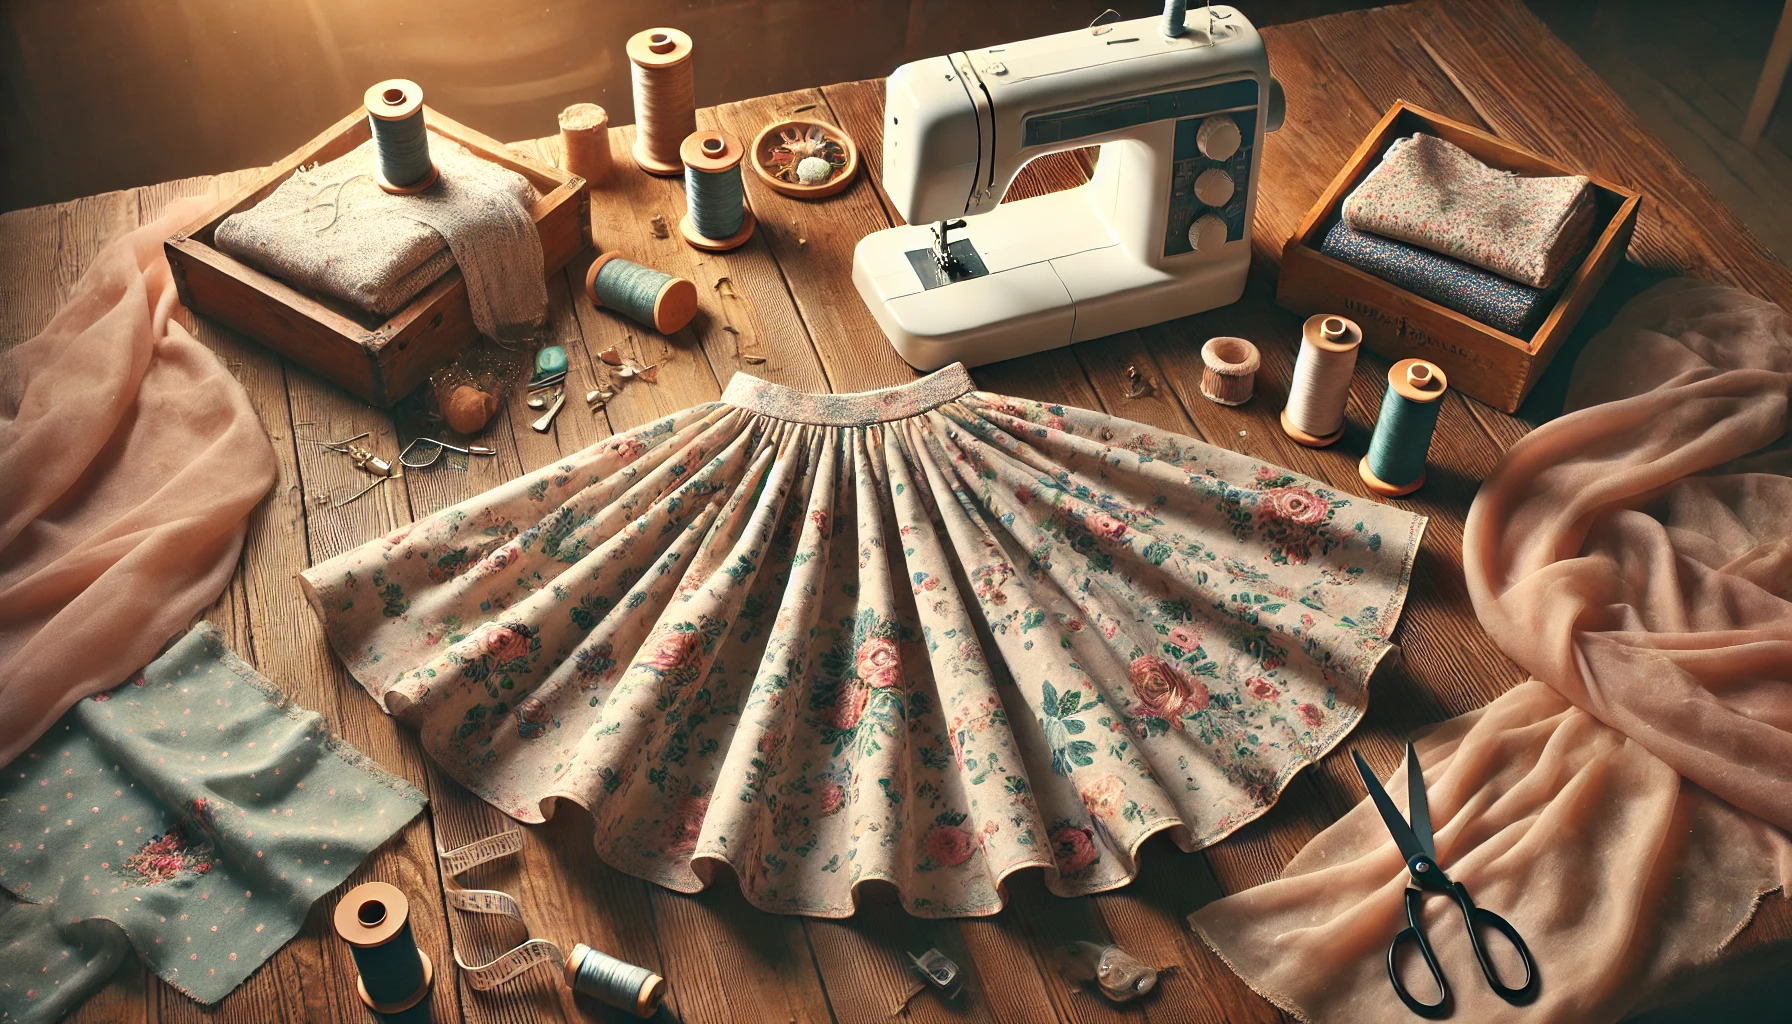
A twirly skirt adds movement and charm to any outfit, making it a fun project for both beginners and experienced crafters. With basic sewing skills and a few supplies, you can create a stylish, comfortable skirt that twirls beautifully. This guide walks through the process, from choosing fabric to finishing touches.
Materials Needed
Before starting, gather the following materials:
- Fabric – Lightweight cotton, linen, or jersey works best for good drape and movement.
- Elastic – ¾-inch to 1-inch wide for a comfortable waistband.
- Thread – Matching or contrasting, depending on the design preference.
- Measuring tape – For accurate waist and length measurements.
- Scissors – Sharp fabric scissors for clean cuts.
- Pins or fabric clips – To hold fabric in place while sewing.
- Sewing machine – A simple straight stitch is all that’s needed.
- Iron – For pressing seams and finishing edges.
Step 1: Take Measurements
- Waist Measurement – Measure around the waist where the skirt will sit.
- Skirt Length – Measure from the waist down to the desired length. Add 1 inch for the hem and 1½ inches for the waistband.
- Elastic Length – Cut the elastic about 1 inch shorter than the waist measurement to ensure a snug fit.
Step 2: Cut the Fabric
For a twirly effect, a gathered or circle skirt works best. The simplest method is using a gathered rectangle:
- Width – Multiply the waist measurement by 1.5 or 2, depending on the desired fullness.
- Length – Use the measurement from Step 1, adding seam allowances.
For a circle skirt:
- Fold the fabric in half and then in half again to create a square.
- Mark the waist radius using the formula: waist measurement ÷ 6.28.
- From the waist mark, measure the skirt length and cut the curved hem.
Step 3: Prepare the Waistband
- Fold the top edge down by ¼ inch and press with an iron.
- Fold it down again by 1 inch to create a casing for the elastic.
- Pin in place and stitch close to the folded edge, leaving a small opening to insert the elastic.
Step 4: Insert the Elastic
- Attach a safety pin to one end of the elastic and thread it through the casing.
- Pull it through until both ends meet, making sure it hasn’t twisted.
- Overlap the ends by about ½ inch and sew them securely.
- Tuck the elastic into the casing and close the opening with a few stitches.
Step 5: Sew the Side Seam
- If using a gathered skirt, fold the fabric in half with the right sides together and sew along the side seam.
- For a circle skirt, there’s no side seam unless piecing fabric together.
Press the seam open for a clean finish.
Step 6: Hem the Skirt
- Fold the bottom edge up by ¼ inch and press.
- Fold again by ½ inch and stitch along the edge to secure the hem.
- Use a narrow or rolled hem for a professional look.
Styling and Customization Ideas
A simple twirly skirt offers endless possibilities for customization:
- Add a Ruffle: Sew a gathered strip along the hem for extra movement.
- Use Contrasting Fabric: A different waistband color or a two-tone skirt adds interest.
- Pockets: Side pockets make the skirt more functional.
- Decorative Stitching: Try a zigzag or decorative stitch along the hem.
Care and Maintenance
- Wash in cold water to prevent shrinking.
- Line dry or tumble dry on low.
- Iron on a low setting to maintain the fabric’s shape.
Making a twirly skirt is a rewarding project that requires minimal time but delivers a stylish result. Whether creating one for casual wear or a special occasion, this simple method ensures a flattering and fun piece for any wardrobe.