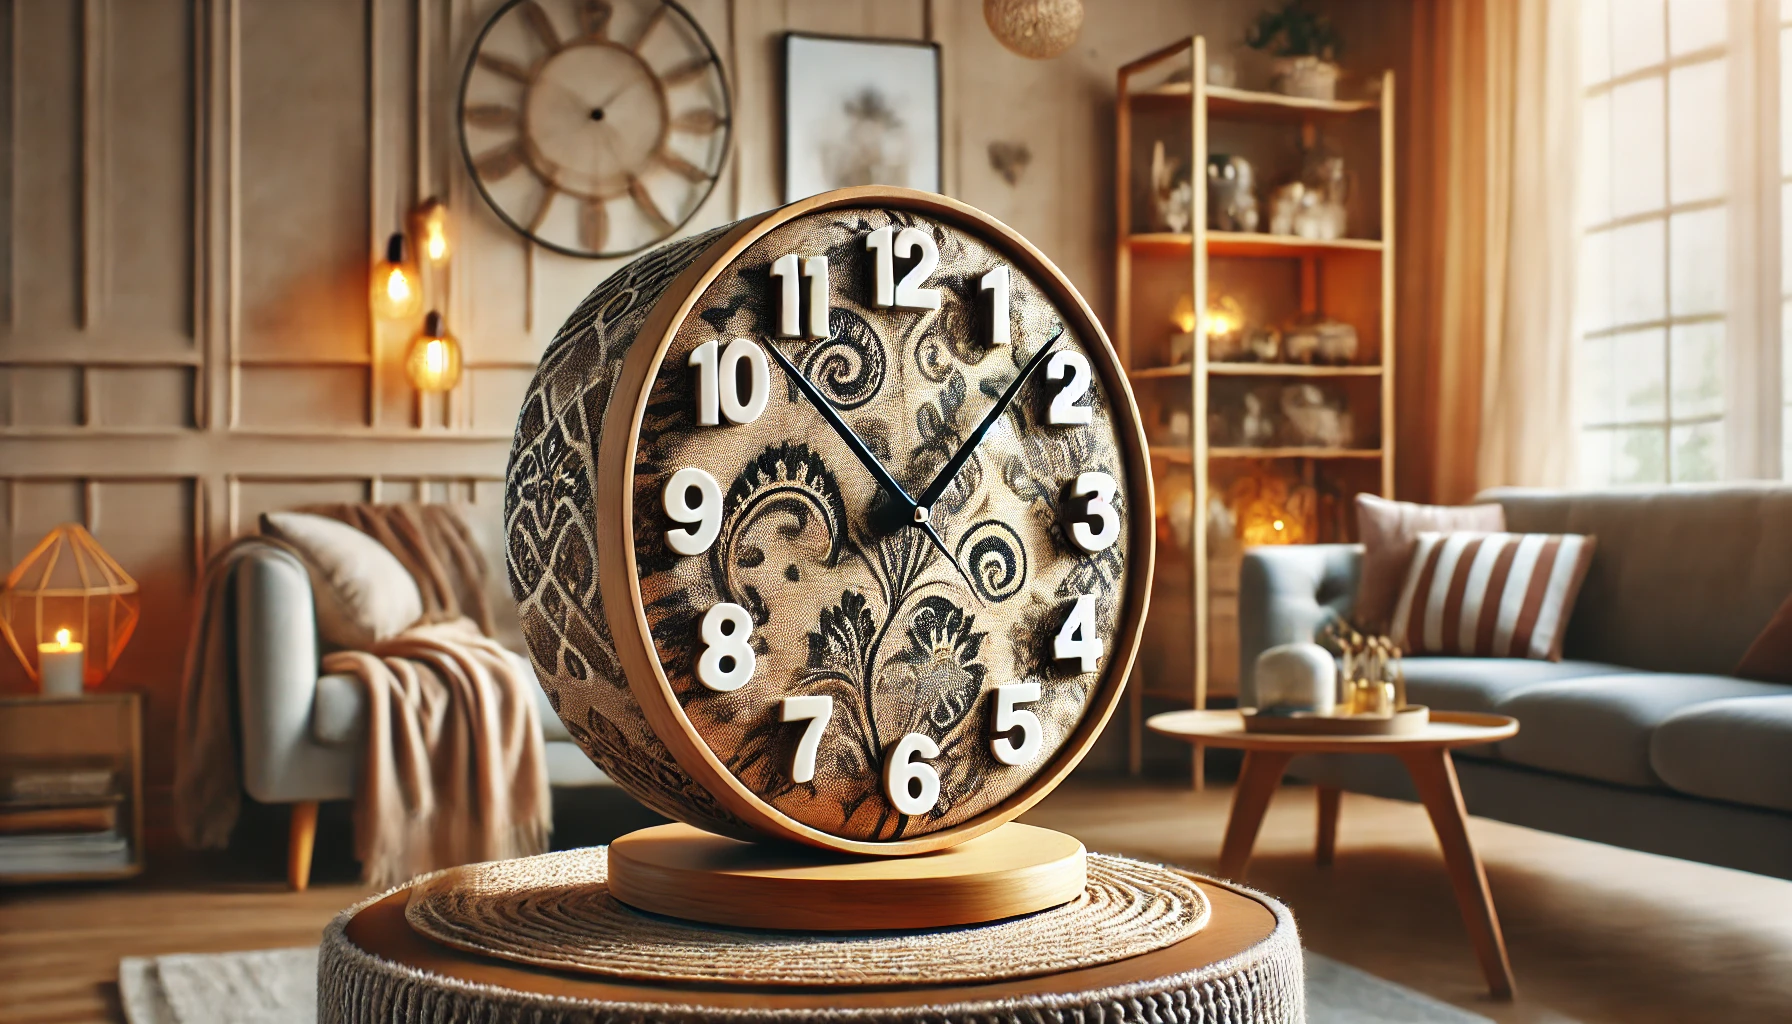
A wall clock doesn’t have to be just a functional piece—it can be art, a conversation starter, and a reflection of your style. The best part? You don’t need any sewing skills to make a fabric wall clock that looks like it came straight from a designer’s collection. If you love DIY projects but don’t want to mess with needles and thread, this is a perfect weekend craft.
This guide will walk you through creating a stunning no-sew fabric wall clock from start to finish. You’ll learn how to pick the right materials, assemble everything securely, and make sure your clock runs smoothly.
What You’ll Need
Before diving in, gather your supplies. The right materials will ensure your clock is sturdy, stylish, and works perfectly.
- Clock Mechanism – You can find one at craft stores or salvage one from an old clock.
- Fabric of Your Choice – Choose a sturdy but flexible fabric like cotton, linen, or canvas. Avoid stretchy fabrics.
- Clock Base – A round piece of wood, foam board, or even a repurposed clock base.
- Fabric Glue or Double-Sided Adhesive Sheets – This will keep everything in place without stitching.
- Scissors and Craft Knife – For cutting fabric and making holes.
- Ruler and Pencil – To measure and mark where to place the clock hands.
- Optional Decorations – Felt, buttons, stencils, or paint for extra flair.
Choosing the Right Fabric
Not all fabrics work well for a no-sew fabric wall clock. Some are too thin, making glue seep through, while others are too thick, making it hard for the clock mechanism to fit. Here’s what to consider:
Best Fabric Types
- Cotton & Linen – Easy to work with, holds glue well, and won’t stretch out of shape.
- Canvas – Sturdy and gives a polished, professional look.
- Felt – A great option if you want a softer, handmade feel.
Fabrics to Avoid
- Silk & Satin – Too slippery and delicate.
- Jersey & Stretchy Fabric – Hard to glue and may distort over time.
- Thick Upholstery Fabric – Can make it difficult to install the clock hands properly.
Preparing Your Clock Base
Before wrapping your clock base in fabric, make sure it’s smooth and free of dust. If you’re using wood, a quick sanding will help. If you’re working with foam board, ensure the edges are clean and even.
Cutting the Fabric to Size
- Lay your fabric flat and place the clock base on top.
- Add at least two inches of extra fabric around all sides to ensure full coverage.
- Cut the fabric using sharp scissors to avoid fraying.
Making the Center Hole
- Find the exact middle of your clock base.
- Mark the center with a pencil and use a craft knife to cut a small X.
- The hole should be just large enough for the clock mechanism to fit through.
Attaching the Fabric Without Sewing
Now, for the fun part—attaching the fabric seamlessly so it looks professionally made.
Using Fabric Glue
- Apply a thin, even layer of fabric glue around the edges of the clock base.
- Gently press the fabric down, smoothing out any wrinkles as you go.
- Wrap the excess fabric around the back and glue it down securely.
Using Double-Sided Adhesive Sheets
- Stick the adhesive sheets onto the clock base before placing the fabric.
- Peel off the backing and carefully press the fabric in place.
- Trim any excess fabric from the back for a clean finish.
Installing the Clock Mechanism
Every clock mechanism comes with slightly different instructions, but the general steps are the same.
- Insert the clock mechanism through the center hole you cut earlier.
- Attach the clock hands according to the manufacturer’s instructions.
- Secure everything tightly so the hands move freely without wobbling.
- Before placing the battery, check the current time online to ensure your clock is set accurately.
- Insert the battery and test the clock to ensure it runs correctly.
Adding Decorative Touches
This is where you can get creative! A fabric wall clock should match your personality and home décor, so add elements that make it uniquely yours.
Adding Hour Markers
- Fabric or Felt Cutouts – Cut small shapes and glue them where the numbers would go.
- Paint or Stencils – Use acrylic paint to add numbers or artistic details.
- Buttons or Beads – Attach them at each hour mark for a charming touch.
Personalizing the Clock Hands
- Paint them a bold color for contrast.
- Wrap them in washi tape for patterns.
- Swap them for custom-cut hands from thin wood or acrylic.
Frame or No Frame?
If you want a framed look, use an embroidery hoop or a decorative plate as a border. This gives your clock a polished, finished feel.
Ensuring Your Clock Lasts
A DIY project should be just as functional as it is beautiful. To keep your no-sew fabric wall clock in top shape:
- Keep it away from moisture – Fabric can absorb humidity, making it loosen or wrinkle.
- Check the battery occasionally – If the clock stops working, it’s likely just a dead battery.
- Dust it regularly – A quick wipe with a dry cloth will keep it looking fresh.
Final Thoughts
Creating a no-sew fabric wall clock is a fulfilling DIY project that combines creativity with practicality. With the right materials and a little patience, you can craft a unique timepiece that complements your space. Whether you prefer a minimalist look or a boho-inspired wall art piece with bold patterns and textures, your handmade clock will be a stylish and personal addition to your decor.


