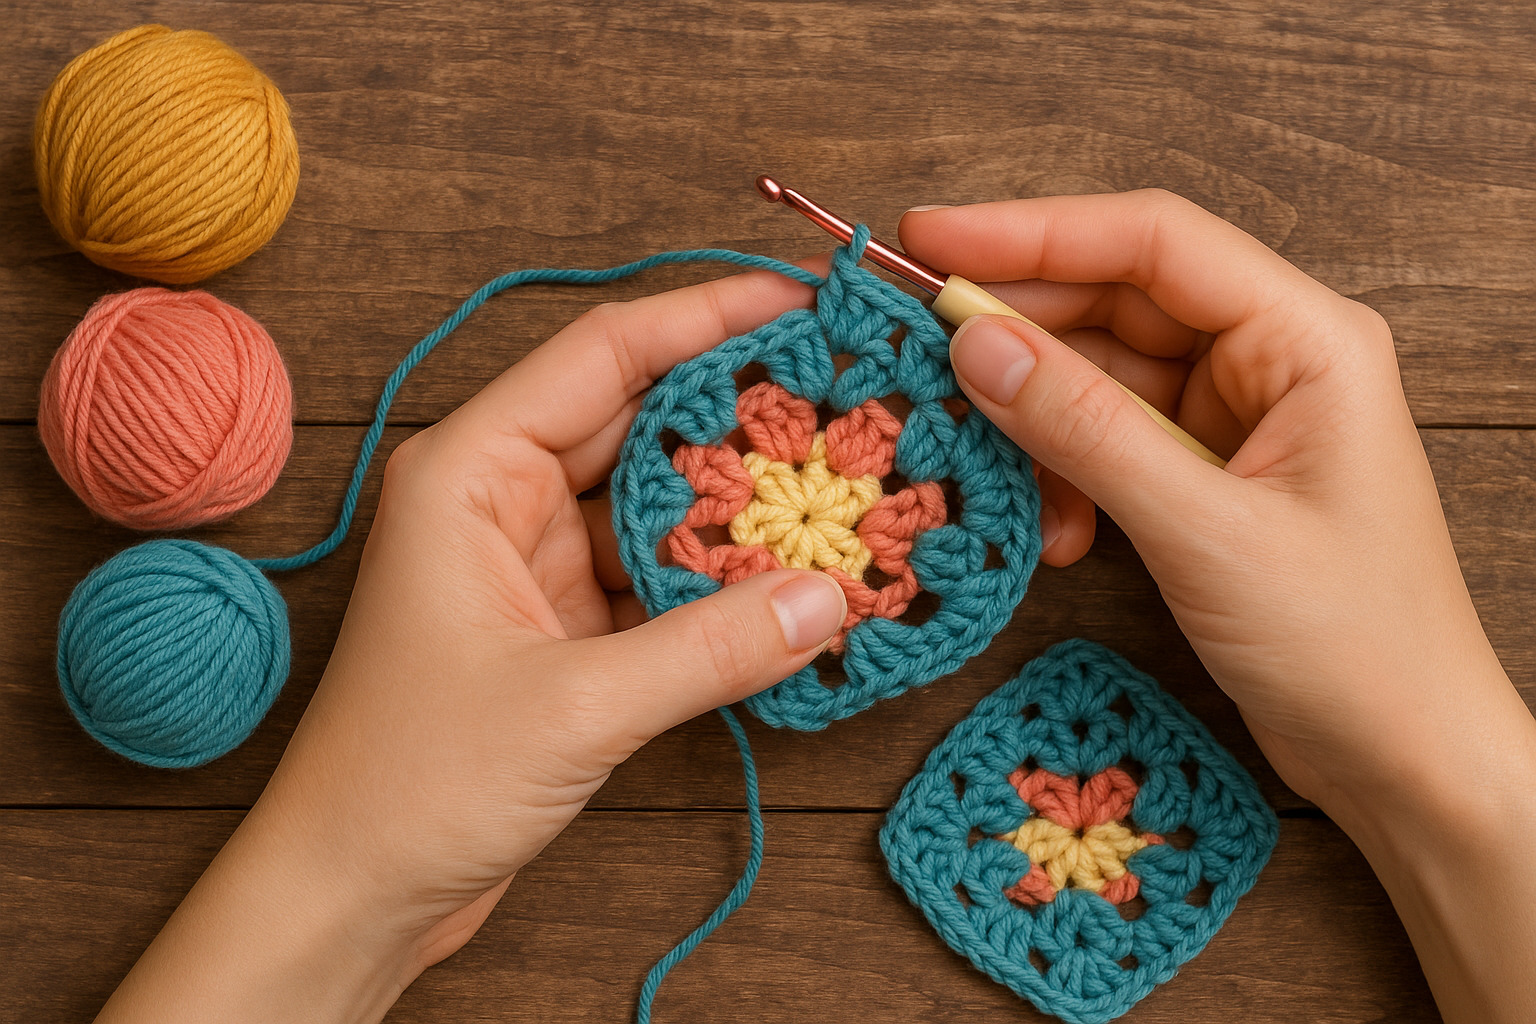
Granny squares are the foundation of countless crochet projects, from blankets to bags. Their versatility and simplicity make them perfect for beginners and experts alike. If you’ve ever wanted to learn how to crochet a granny square, this guide breaks it down into easy-to-follow steps.
Materials You’ll Need
Before starting, gather these essentials:
- Medium-weight yarn (worsted weight works well)
- Crochet hook (size H/5mm is ideal for beginners)
- Scissors
- Yarn needle
Step-by-Step Guide to Crocheting a Granny Square
1. Start with a Slip Knot
Create a slip knot and place it on your hook. This will be the foundation of your first stitch.
2. Chain Stitch (Ch) the Center Ring
- Chain 4 stitches.
- Join the last chain to the first with a slip stitch to form a ring.
3. Work the First Round
- Chain 3 (counts as your first double crochet).
- Double crochet (DC) twice into the center ring.
- Chain 2 (creates the corner space).
- DC 3 times into the ring again.
- Repeat Chain 2, DC 3 two more times.
- Slip stitch into the top of the initial chain-3 to close the round.
4. Begin the Second Round
- Slip stitch into the next two DC stitches.
- Slip stitch into the chain-2 corner space.
- Chain 3 (first DC of the new corner).
- DC 2, Chain 2, DC 3 into the same corner space.
- Chain 1 (spacer between clusters).
- Move to the next corner and repeat (DC 3, Chain 2, DC 3, Chain 1).
- Complete all four corners, then slip stitch to the starting chain-3 to close.
5. Continue Expanding Your Granny Square
Each new round follows the same pattern:
- Work (DC 3, Chain 2, DC 3) into each corner space.
- Chain 1 between clusters along the sides.
- Increase the number of middle clusters as the square grows.
6. Fasten Off and Weave in Ends
Once your square reaches the desired size:
- Cut the yarn, leaving a 6-inch tail.
- Pull the tail through the last loop and tighten.
- Use a yarn needle to weave in loose ends.
Tips for Perfect Granny Squares
- Tension Matters: Keep stitches even for a uniform look.
- Change Colors: Introduce new yarn at the start of a round for vibrant designs.
- Block Your Work: Lightly steam or pin the square to shape for a polished finish.
Creative Ways to Use Granny Squares
- Blankets & Afghans: Join multiple squares for a cozy throw.
- Bags & Totes: Sew squares together for a stylish carryall.
- Coasters & Pillows: Small squares make charming home decor.
Mastering the granny square opens endless possibilities. Whether you’re crafting a heirloom blanket or a quick gift, this classic technique never goes out of style. Grab your hook and yarn—your next project starts with a single stitch.