Sewing on a patch adds personality, repairs damage, or reinforces worn fabric. Whether it’s a badge on a backpack or a tear on your jeans, stitching a patch in place keeps it secure and stylish. Here’s how to do it with precision and a clean finish.
Materials You’ll Need
- The patch
- The item (jeans, shirt, backpack, etc.)
- Needle and thread (or sewing machine)
- Scissors
- Pins or fabric glue (optional for placement)
- Iron (if using an iron-on backing)
- Thimble (optional for thick fabric)
Types of Patches and Their Purposes
Embroidered patches – Decorative or symbolic; usually thick and rigid.
Iron-on patches – Have a heat-activated adhesive layer.
Sew-on patches – Require hand or machine stitching.
Appliqué patches – Used for design, cut from fabric, and stitched on.
Repair patches – Cover holes or reinforce fabric, often placed on the inside.
Prep Steps Before Sewing
- Wash the fabric – Especially if it’s new. Shrinking post-stitching distorts the patch.
- Choose thread color – Match it for a hidden stitch, or contrast it for a bold outline.
- Check the placement – Use pins or fabric-safe glue to mark where it should go.
- Trim frays – Neaten edges of the patch or hole it’s covering.
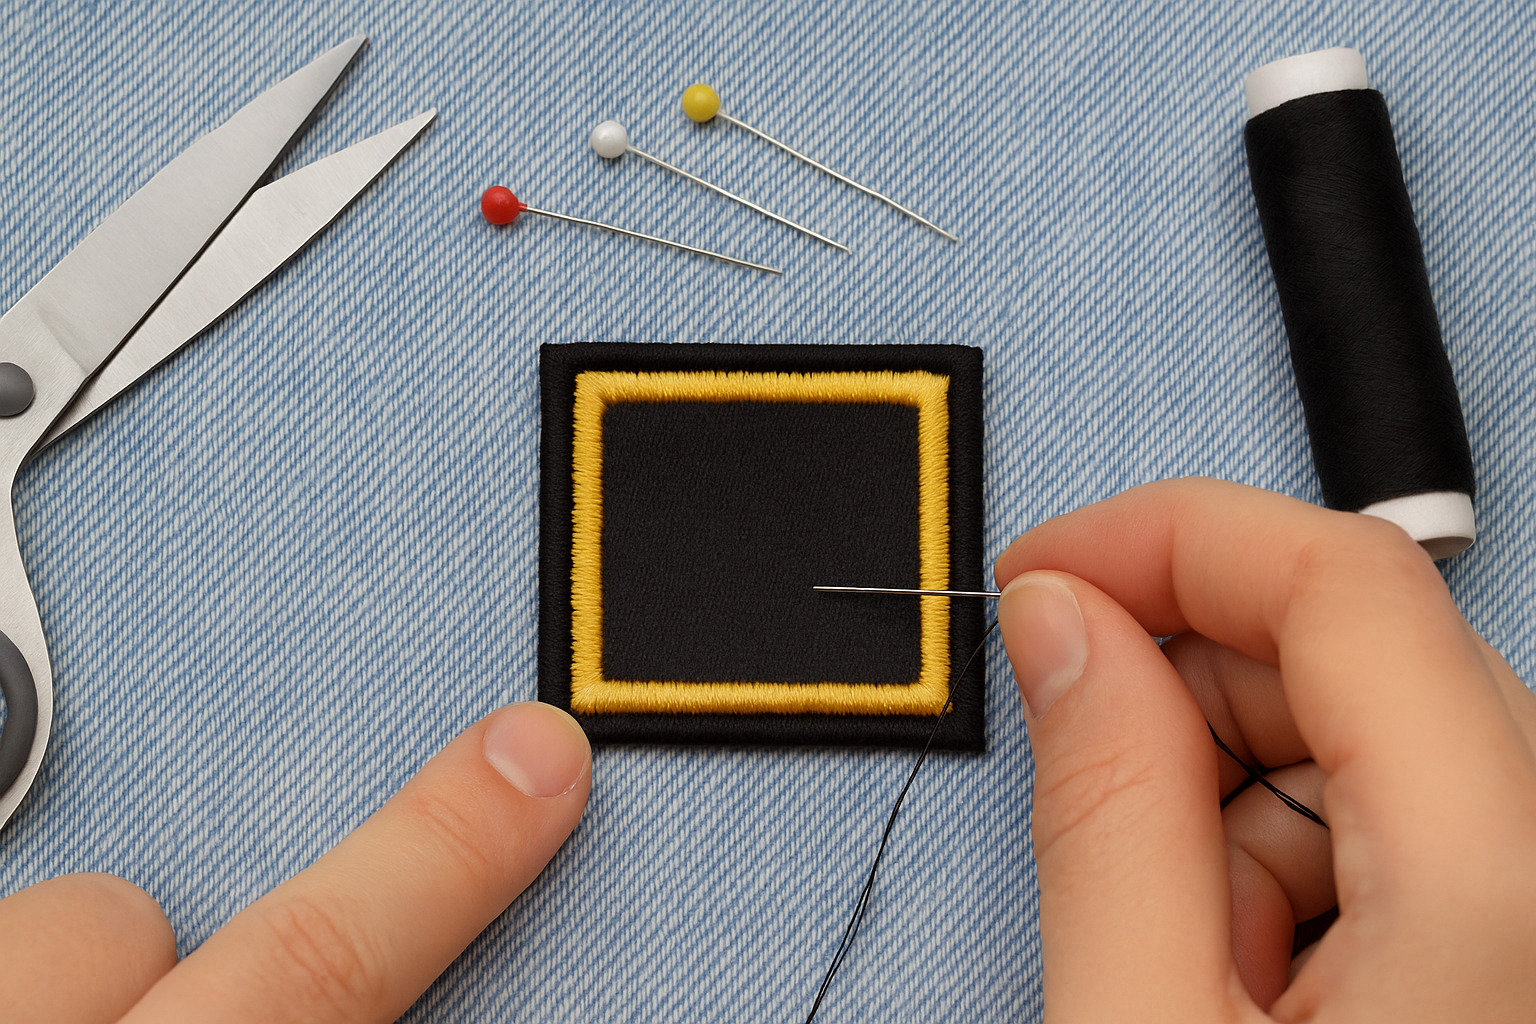
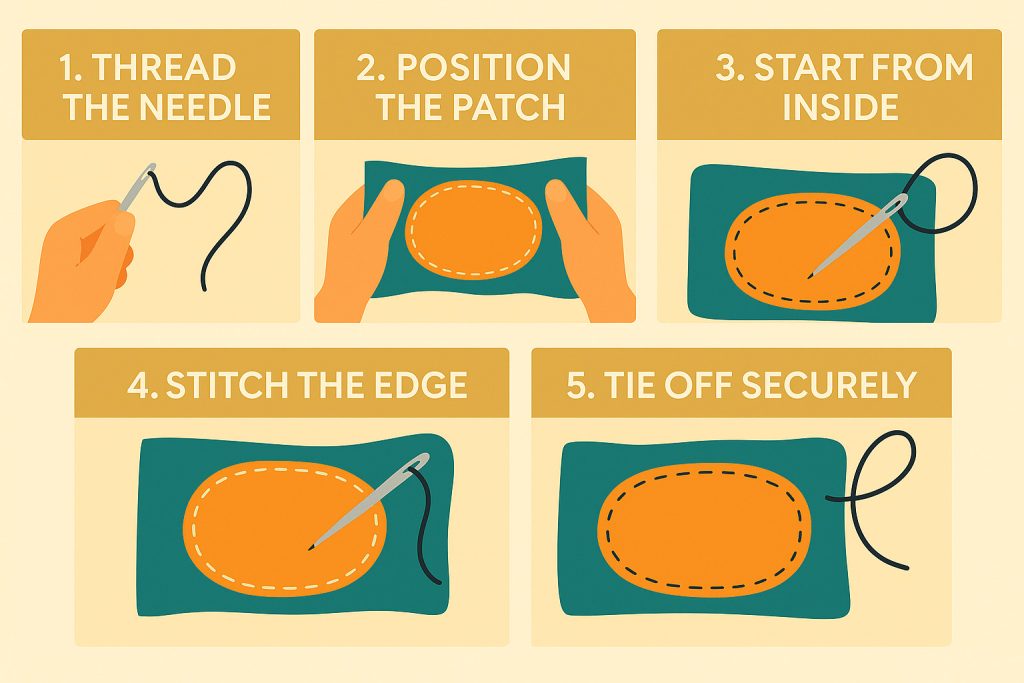
Hand Sewing a Patch: How To Do It
1. Thread the Needle
Cut a thread about 18 inches long. Double it if you want a stronger hold. Knot the end.
2. Position the Patch
Place the patch where desired. Pin it down or use a dab of glue.
3. Start from Inside
Push the needle up from the underside of the fabric to hide the knot.
4. Stitch the Edge
Use a straight stitch or a blanket stitch around the edge. Keep your spacing even, about ⅛ inch from the patch edge.
- Straight stitch: Goes in and out through the fabric in a line.
- Blanket stitch: Loops over the edge for a reinforced finish.
5. Tie Off Securely
When you’re done, tie a knot close to the fabric and push the needle through the fabric layer to bury the tail. Snip the thread.
Using a Sewing Machine
If your fabric and patch are flat and the patch isn’t too thick, a sewing machine saves time.
- Secure the patch with pins or glue.
- Choose the right stitch – Zigzag or straight.
- Sew slowly around the edge. Keep it clean by pivoting at corners.
- Backstitch the start and end to prevent unraveling.
Tips for Specific Fabrics
Denim – Use strong thread and a thimble. Heavy fabric needs pressure and sharp needles.
Knitwear – Stretchy fabric needs a zigzag stitch to prevent puckering.
Canvas/Bags – Hand-sewing may be better if the machine can’t reach tight corners.
Delicate fabrics – Use appliqué patches or soft stitches to avoid tearing.
How to Apply an Iron-On Patch Before Stitching
Some patches have adhesive backings. These can be ironed first for placement, then stitched for permanence.
- Heat your iron – Medium to high, no steam.
- Cover the patch with cloth – Prevents scorching.
- Hold for 20–30 seconds – Apply firm pressure.
- Let it cool – Check edges. If they lift, sew it down.
Creative Stitching Ideas
- Use embroidery thread for colorful, textured outlines.
- Stitch in decorative patterns like stars or hearts.
- Add contrast thread for a bold border.
- Layer smaller patches on a larger one for depth.
Common Mistakes to Avoid
- Don’t sew through both layers of clothing (e.g., sewing pant legs shut).
- Avoid thick knots that create bumps.
- Never skip washing new clothes first—patches may pucker later.
- Don’t forget to knot securely or the patch will lift.
Patches aren’t just functional. They’re personal. Whether you’re repairing a tear or adding flair, sewing them by hand or machine keeps them right where they belong.