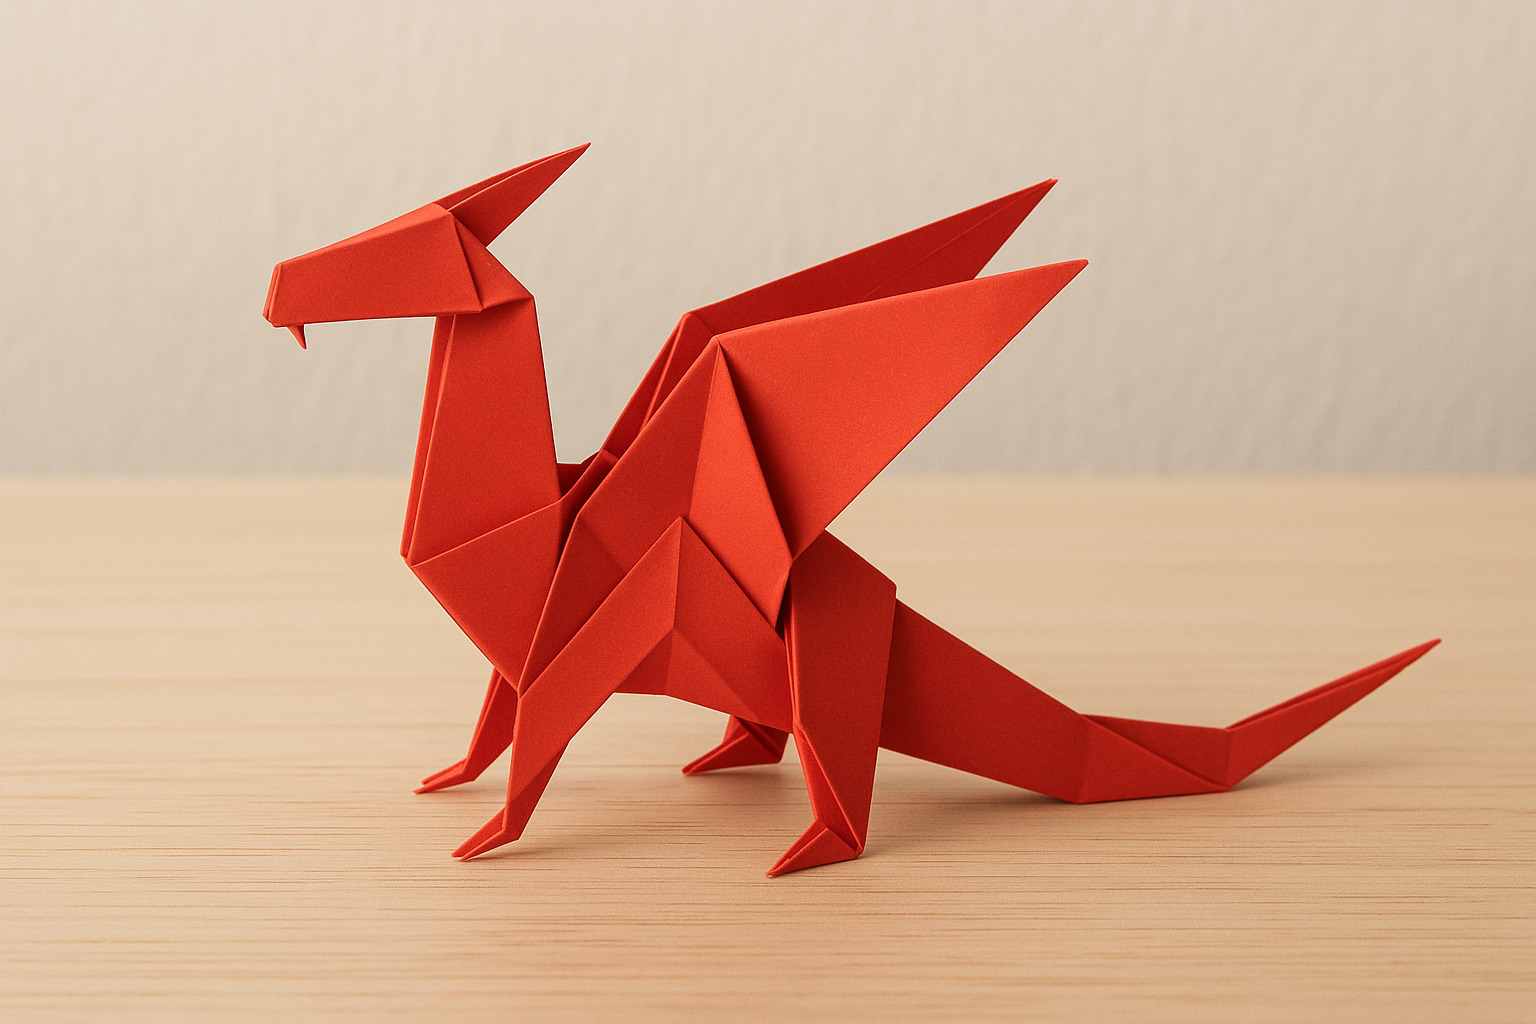
An origami dragon may seem like a mythical challenge. But with the right folds, anyone can bring one to life using nothing more than a square sheet of paper. This guide strips the process into clear, manageable steps. No cutting, no glue—just precision and patience.
Materials You’ll Need
- 1 square sheet of paper (15cm x 15cm works well)
- Flat surface
- Steady hands
Optional: Bone folder for sharp creases
Best Type of Paper for an Origami Dragon
- Kami Paper: Lightweight, easy to fold, good for beginners
- Washi Paper: Durable with texture, ideal for detailed models
- Foil-Backed Paper: Holds creases well, perfect for shaping wings and claws
Avoid thick cardstock. It will tear or resist fine folds.
Basic Origami Folds to Know
- Valley Fold: Fold the paper toward you
- Mountain Fold: Fold the paper away from you
- Squash Fold: Open a flap and flatten it symmetrically
- Inside Reverse Fold: Push a corner inward and fold it along existing creases
- Outside Reverse Fold: Pull a corner outward and follow the crease lines
Mastering these sets the groundwork.
Step-by-Step Instructions
1. Start with a Bird Base
- Fold the square in half diagonally both ways.
- Fold in half vertically and horizontally.
- Collapse into a square base.
- Fold top flaps into the center, forming a kite shape.
- Flip and repeat.
- Pull top triangle up and squash fold both layers.
2. Form the Preliminary Base for the Dragon
- Fold both side edges of the top layer into the center.
- Perform a petal fold on each side.
- You should now have a long, narrow kite shape.
3. Shape the Head, Tail, and Wings
- Choose one end for the head.
- Inside reverse fold the tip down to form a snout.
- Make another reverse fold to shape the mouth.
- For the tail, fold the opposite end upward with a sharp angle.
- Fold back and forth to form a zigzag tail effect.
4. Create the Wings
- Pull out both side flaps.
- Fold each outward horizontally to create wings.
- Add wing tips by folding down the corners.
- Shape with your fingers or a tool for more curve.
5. Add Final Details
- Use a reverse fold to create hind legs from the bottom flaps.
- Tuck or shape claws with small folds.
- Open the wings slightly to create a majestic stance.
Tips for Better Results
- Use tweezers for precise folds in tight spaces.
- Make each crease firm before proceeding to the next.
- Practice on scrap paper before trying with premium sheets.
- Dry hands prevent slippage.
Origami Dragon Variations to Try
- Flapping Dragon: Wings can flap with movement
- Standing Dragon: Includes leg folds for standing position
- 3D Winged Dragon: More complex but visually dramatic
Each version uses similar principles with added layers of folds
Troubleshooting Common Issues
- Wings won’t stay up: Try re-creasing folds more sharply
- Paper tearing: Use lighter pressure and thinner paper
- Crooked head or tail: Realign base folds before shaping
Refining technique with repetition improves symmetry and detail.
What This Craft Teaches
- Spatial awareness through 3D shaping
- Patience and fine motor control
- The reward of bringing something intricate to life from simplicity
Making an origami dragon transforms flat paper into a myth reborn through form and fold.