Changing pillow covers can refresh any space without much effort. With just a few materials and a simple sewing process, you can make a custom pillow cover in three straightforward steps. This tutorial works for beginners and experienced crafters alike.
Materials Needed
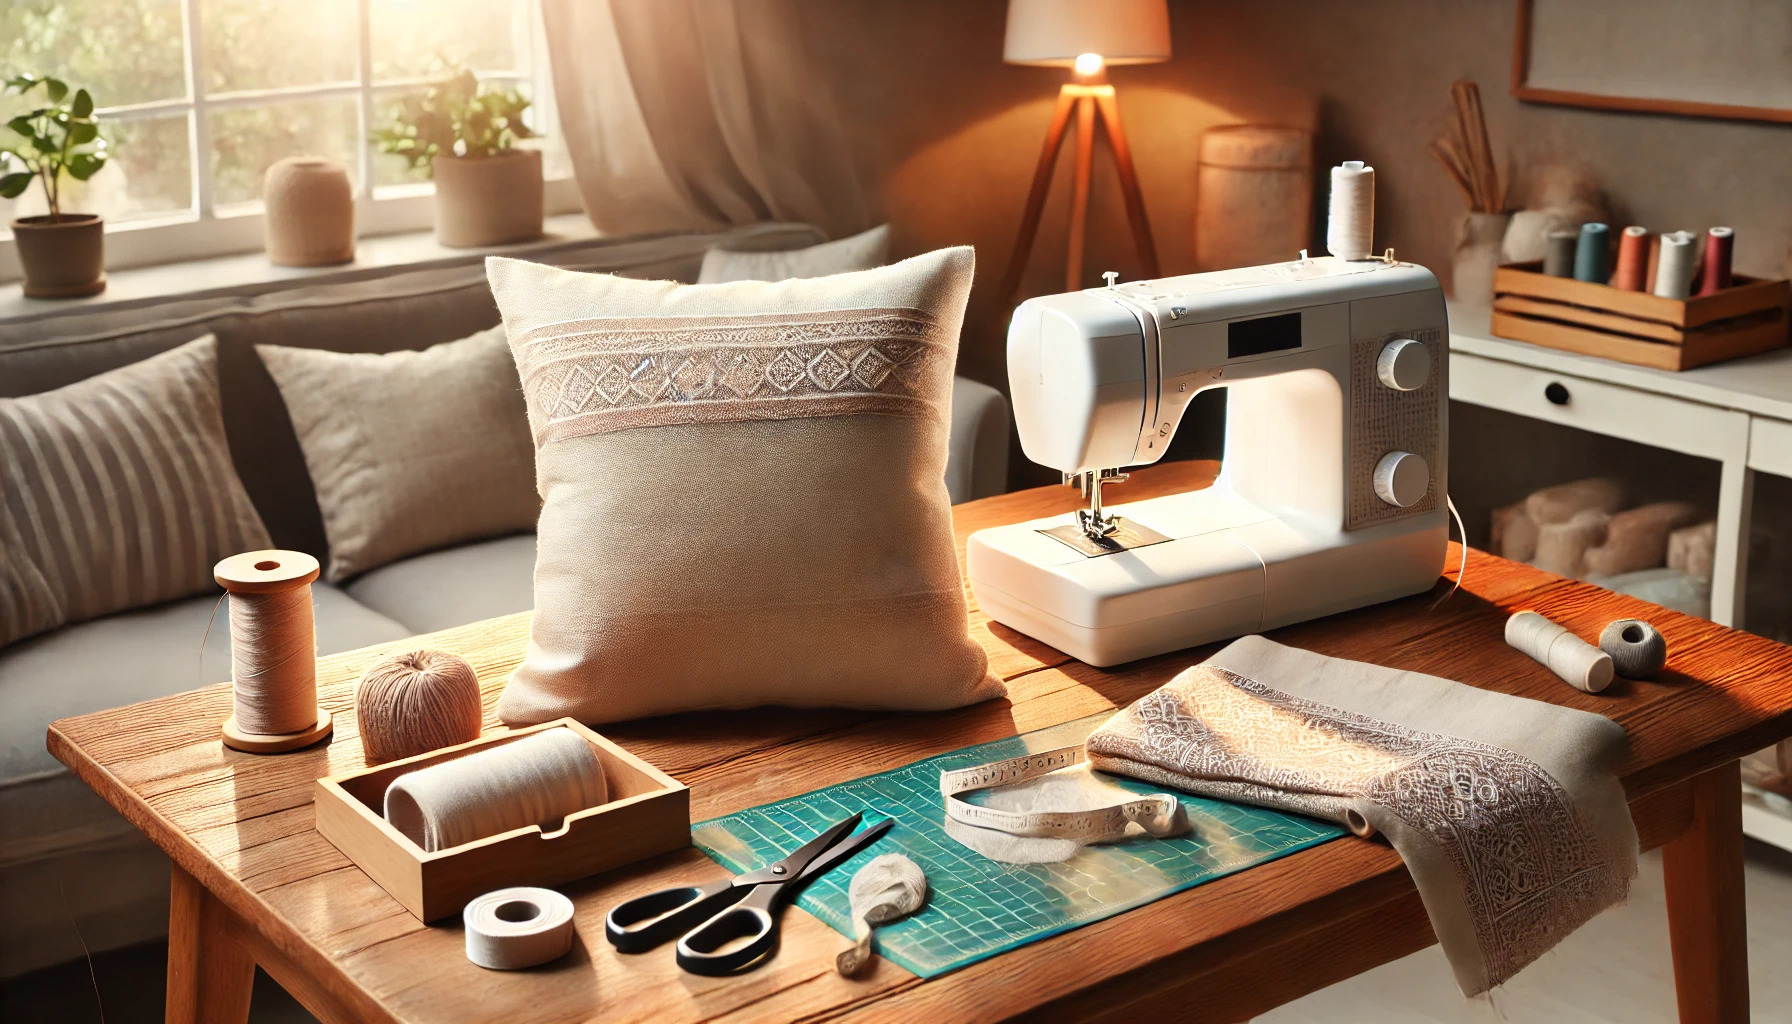
Before starting, gather the following supplies:
- Fabric of your choice (cotton, linen, or a soft blend)
- Matching thread
- Sewing machine or needle for hand-stitching
- Fabric scissors
- Pins or clips
- Measuring tape
- Iron
- Pillow insert
Choose a fabric that suits your style, whether bold and patterned or soft and neutral. Pre-washing prevents shrinkage later, ensuring a perfect fit.
Step 1: Measure and Cut the Fabric
Accurate measurements create a well-fitted cover. Use a measuring tape to determine the pillow insert’s dimensions, then cut the fabric accordingly.
For an Envelope Pillow Cover:
- Cut one piece for the front panel, matching the pillow insert size plus a ½-inch seam allowance on all sides.
- Cut two pieces for the back panels, each half the pillow width plus 3 inches for overlap. These create the envelope opening.
For example, a 16×16-inch pillow insert requires:
- Front panel: 17×17 inches (including a ½-inch seam on each side)
- Back panels: 17 inches in height and 12 inches in width each
Pro Tip: If using a patterned fabric, ensure the design aligns across the panels for a polished finish.
Step 2: Sew the Edges of the Back Panels
Since the back panels overlap, the raw edges of the opening must be hemmed. This prevents fraying and keeps the fabric looking neat.
- Fold the inner edge of each back panel ½ inch toward the wrong side of the fabric.
- Press with an iron for a crisp fold.
- Fold again by another ½ inch and press.
- Sew along the folded edge using a straight stitch.
A double-fold hem provides durability, ensuring the fabric doesn’t unravel after washing.
Step 3: Assemble and Sew the Cover
With all pieces prepared, it’s time to put everything together.
- Lay the front panel right-side up on a flat surface.
- Place the two back panels right-side down, aligning them with the edges of the front panel. The hemmed edges should overlap in the middle.
- Pin or clip the fabric layers together to keep everything in place.
- Sew around all four sides using a ½-inch seam allowance. Backstitch at the beginning and end to secure the stitches.
For a cleaner look, trim the corners diagonally before turning the cover inside out. This reduces bulk and helps the pillow maintain sharp edges.
Final Touches
Turn the cover right-side out and use a blunt tool, like a chopstick or knitting needle, to push out the corners. Press the seams with an iron for a crisp finish. Insert the pillow and adjust as needed.
This method creates a snug, stylish cover that’s easy to remove and wash. By switching fabrics or patterns, you can update your space anytime with minimal effort.